
The 1963 Triumph - Part 3. From Inspiration to Fabrication
There is a school of thought that lines like, “the first cut is the deepest,” are profound when they are, in fact, not. But when chopping a motorcycle once you cut that first part of the frame off, you have reached the no-turning back point. With the 1963 Triumph, that line may have been crossed long ago when the original owner welded on a common bolt on kit and added a bunch of unnecessary weight – while still deleting out some cross members to make the bike more rigid.
After taking the bike apart it had become apparent that the frame was “well modified.” And by this I do not mean modified well – but made into swiss cheese. When approaching such a problem it is good to have a craftsman like Jimmi Davies doing the work. His longtime experience not only with building choppers, but as a renowned metalsmith is the key ingredient needed to not only make the bike look good – but also, make it safe-ish (it is afterall a chopper).
But with every build there is an inspiration. And from that inspiration Jimmi has the un-enviable task of 1. Translating my hand scribbles to something that looks like a motorcycle, 2. Ensuring that it is going to get me at least to a bar safely, and 3. Put his own stamp on it.
Last week we learned more about Jimmi, and his approach, and this week we take a look at the starting point for discussing the build, and the early frame work in order to get the bike to a starting point to work from.

The earliest known drawing of the idea behind the 1963 Triumph build
Everything interesting comes with a little inspiration. For the 1963 Triumph much of my initial inspiration came from my love of classic British motorcycles. However, as an American who grew up in the vast, wide-open high desert of Southern California, I wanted to add to it something that also felt quintessentially American.
I am sure nearly everyone reading this has had a fascination with 1960s and 1970s biker exploitation films. While they could be fun to watch, the real gold is in the bikes. Shaved of excess weight, fast and nimble, and in a time before rakes and stretched front ends became part of chopper cannon – the bikes (sometimes Triumphs) were simple in their construction – but every bit as personal to the builder as a custom motorcycle could be. With the Triumph I wanted some of that simplicity, mixed with a slightly more “custom culture” aesthetic that draws on southwestern art.
So, what does that mean? To begin with, I wanted bars that reflected the angles omnipresent in southwestern art while still being 7/8 (Triumph standard) in diameter. Finding a good set of Triumph double z-bars is not an easy task, so I contacted Andrew at Shred City Cycles outside of Mount Vernon, Washington to fabricate the handlebars. Andrew of course knocked it out of the park, and with the bars in hand the Triumph had a starting place to draw from when thinking through some additional elements of the build.

Double z bars courtesy of Andrew (@shredcitycycles)
Next up was deciding on what kind of front end and seat to use. The bike originally had a very well-worn AMF era sportster set up, that may have had parts pulled from a metric bike as well. Some things on the original bike remain a mystery. Jimmi over at Revival Motors and Coffee Co. had a springer front end in black sitting there, complete with copper accents.
Originally the bike was going to be blacked out with turquoise, silver, and gold accents, but once I saw the springer, I switch the color scheme in my head instantly to black, copper, turquois, and possible silver accents. It clicked in my head instantly – so we threw it on the build.
The seat that came with the bike was overly wide, and very “dad vibed out” to say the least. So, we slapped on a Butts Seats seat and p-pad. But during mock up the seat position made it abundantly clear – the bike had to be stretched.

It was this point that the overall vibe of the bike started to emerge.
Now, I am a big guy standing at six feet tall and 300 pounds. So, the simple bolt on frame made the bike feel like a small dirt bike on the road. Which, while fun, was not always comfortable. Jimmi, who stands over six feet was the perfect builder to pinpoint the stance issue I would be facing and set to work adding four inches to the stretch. To achieve the stretch he decided to cut his own axle plate, rather than repurpose the worn out one from the
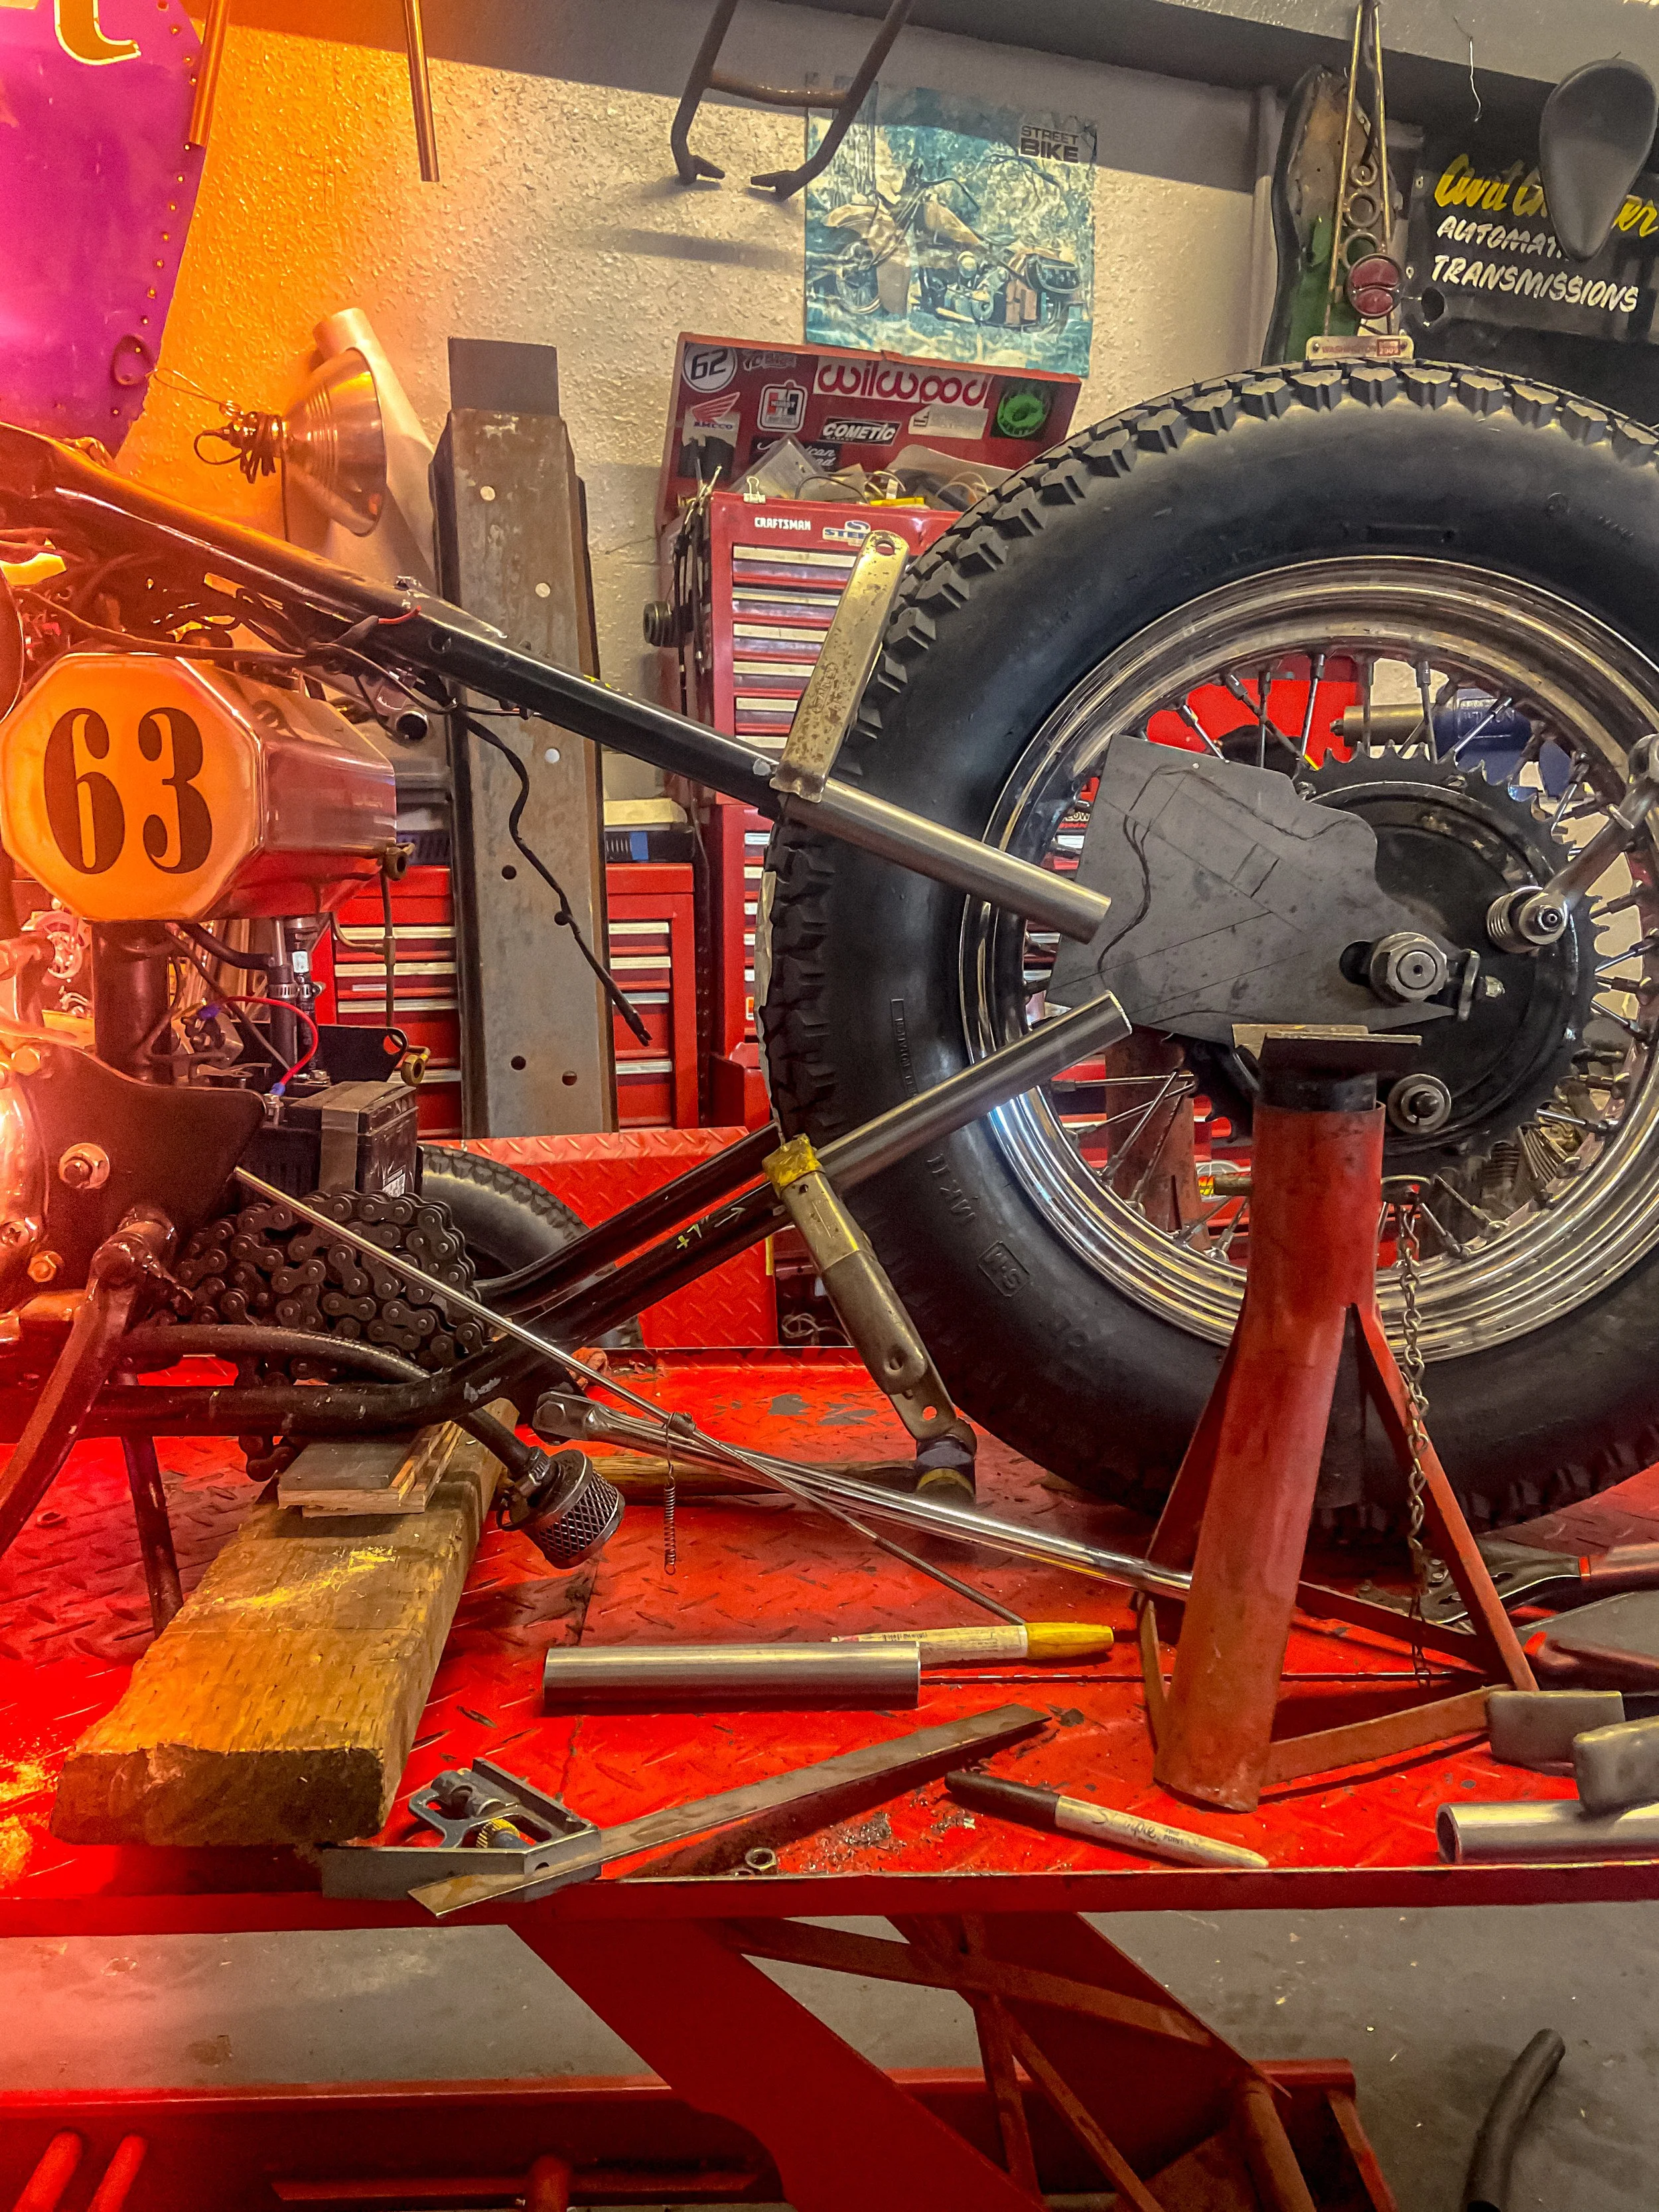
If you paint a rose on the axle plate, would it be an axle rose?
Before too long the bike had transformed from the dad bike to something that was getting close to being the bones of the bike I had in mind. But what Jimmi would bring to the table next would bring the build to the next level. Coming soon part 4 – Jimmi puts his stamp on the build.

We got a roller.