The 1963 Triumph - Part 4. It's All in the Details
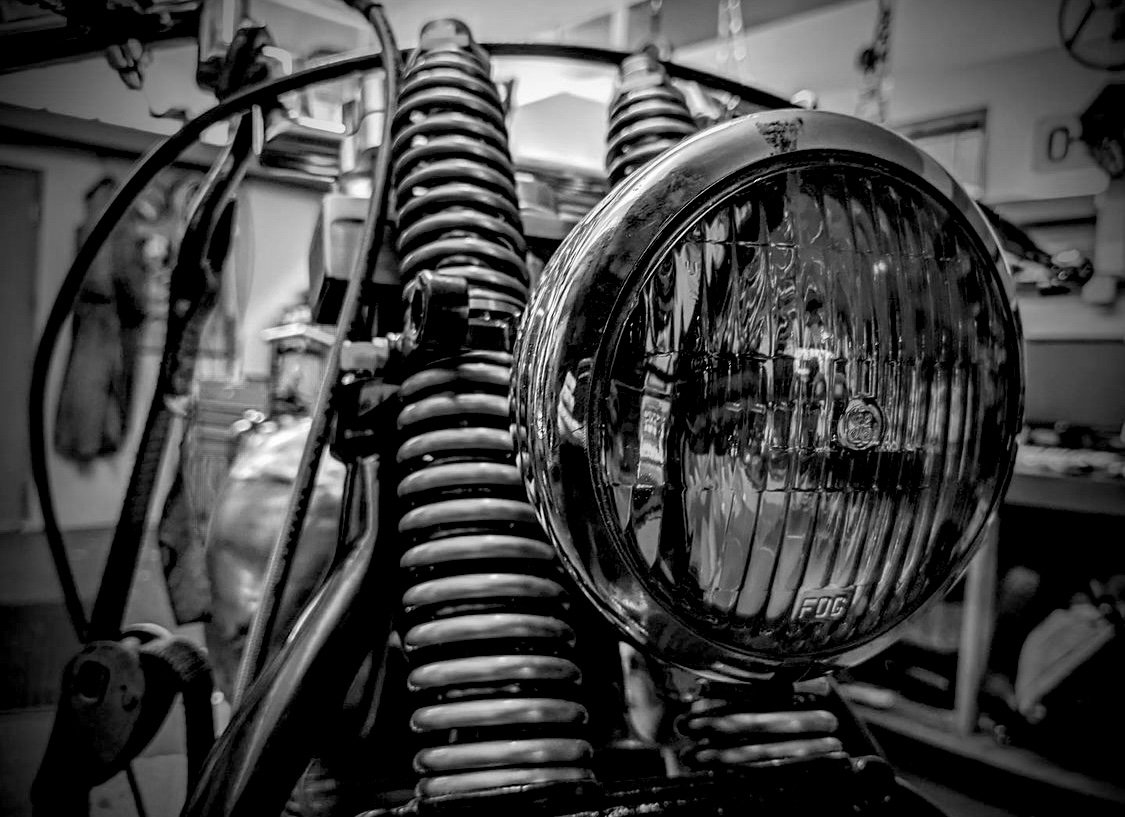
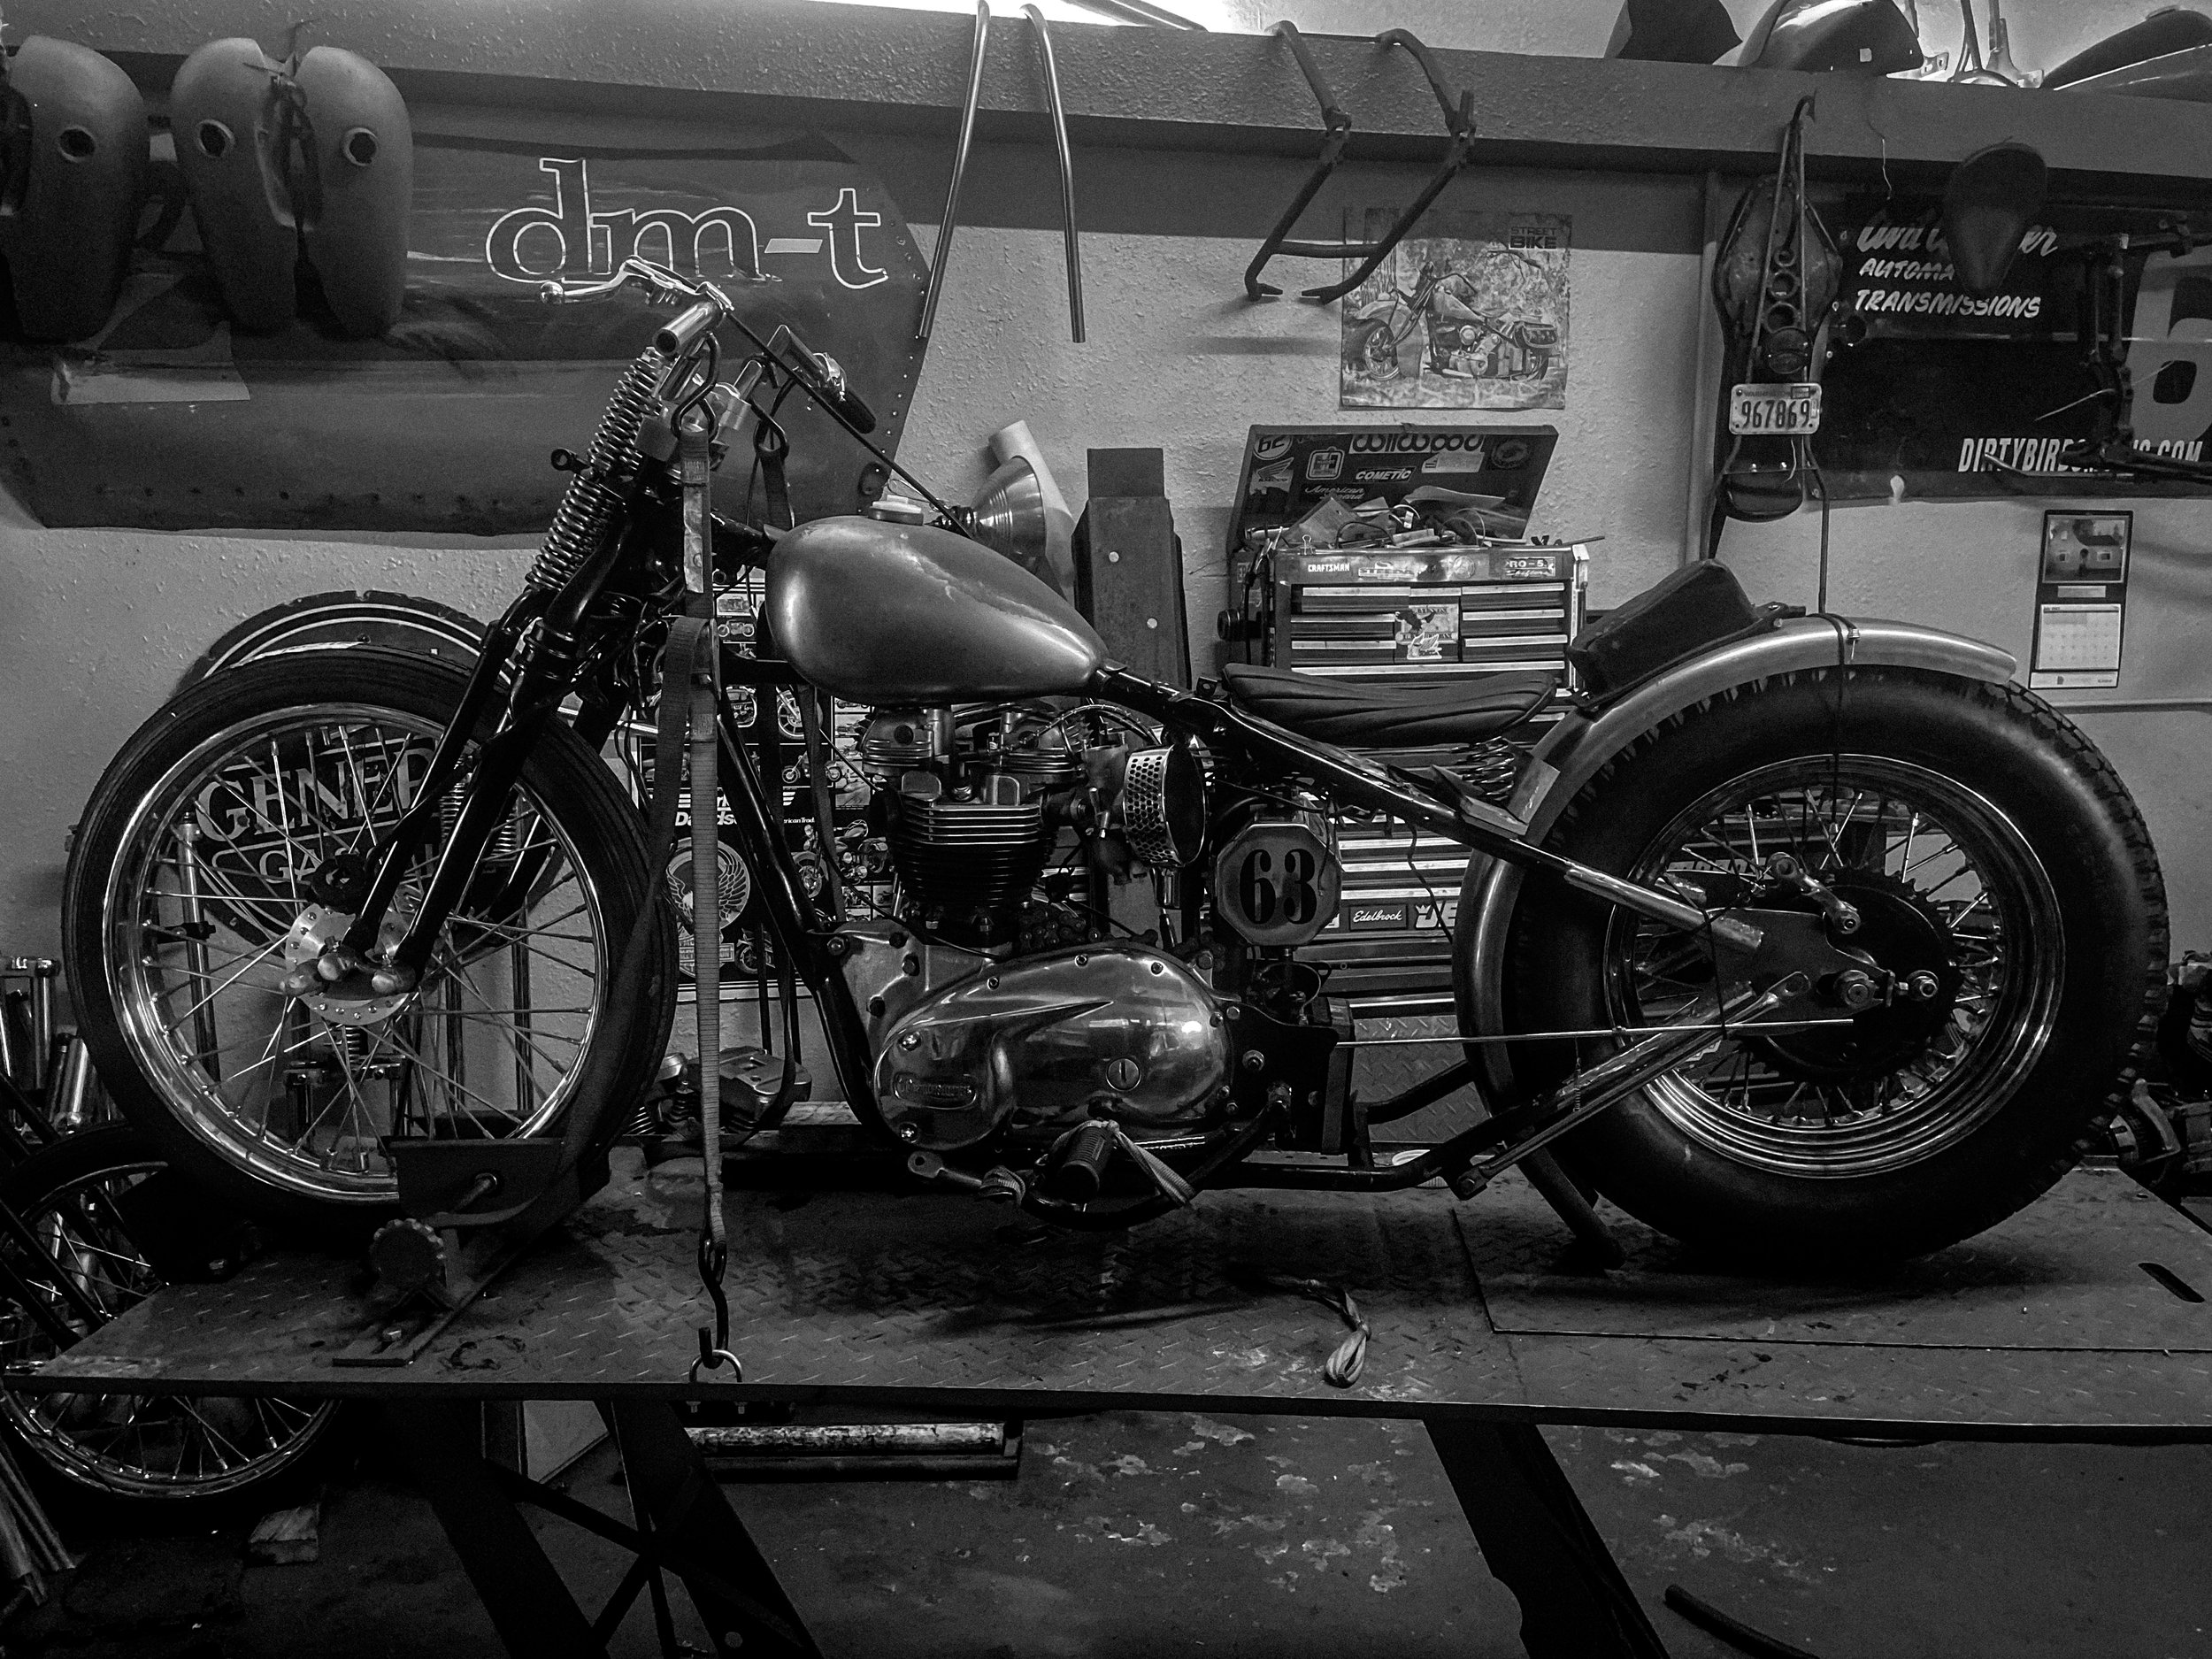
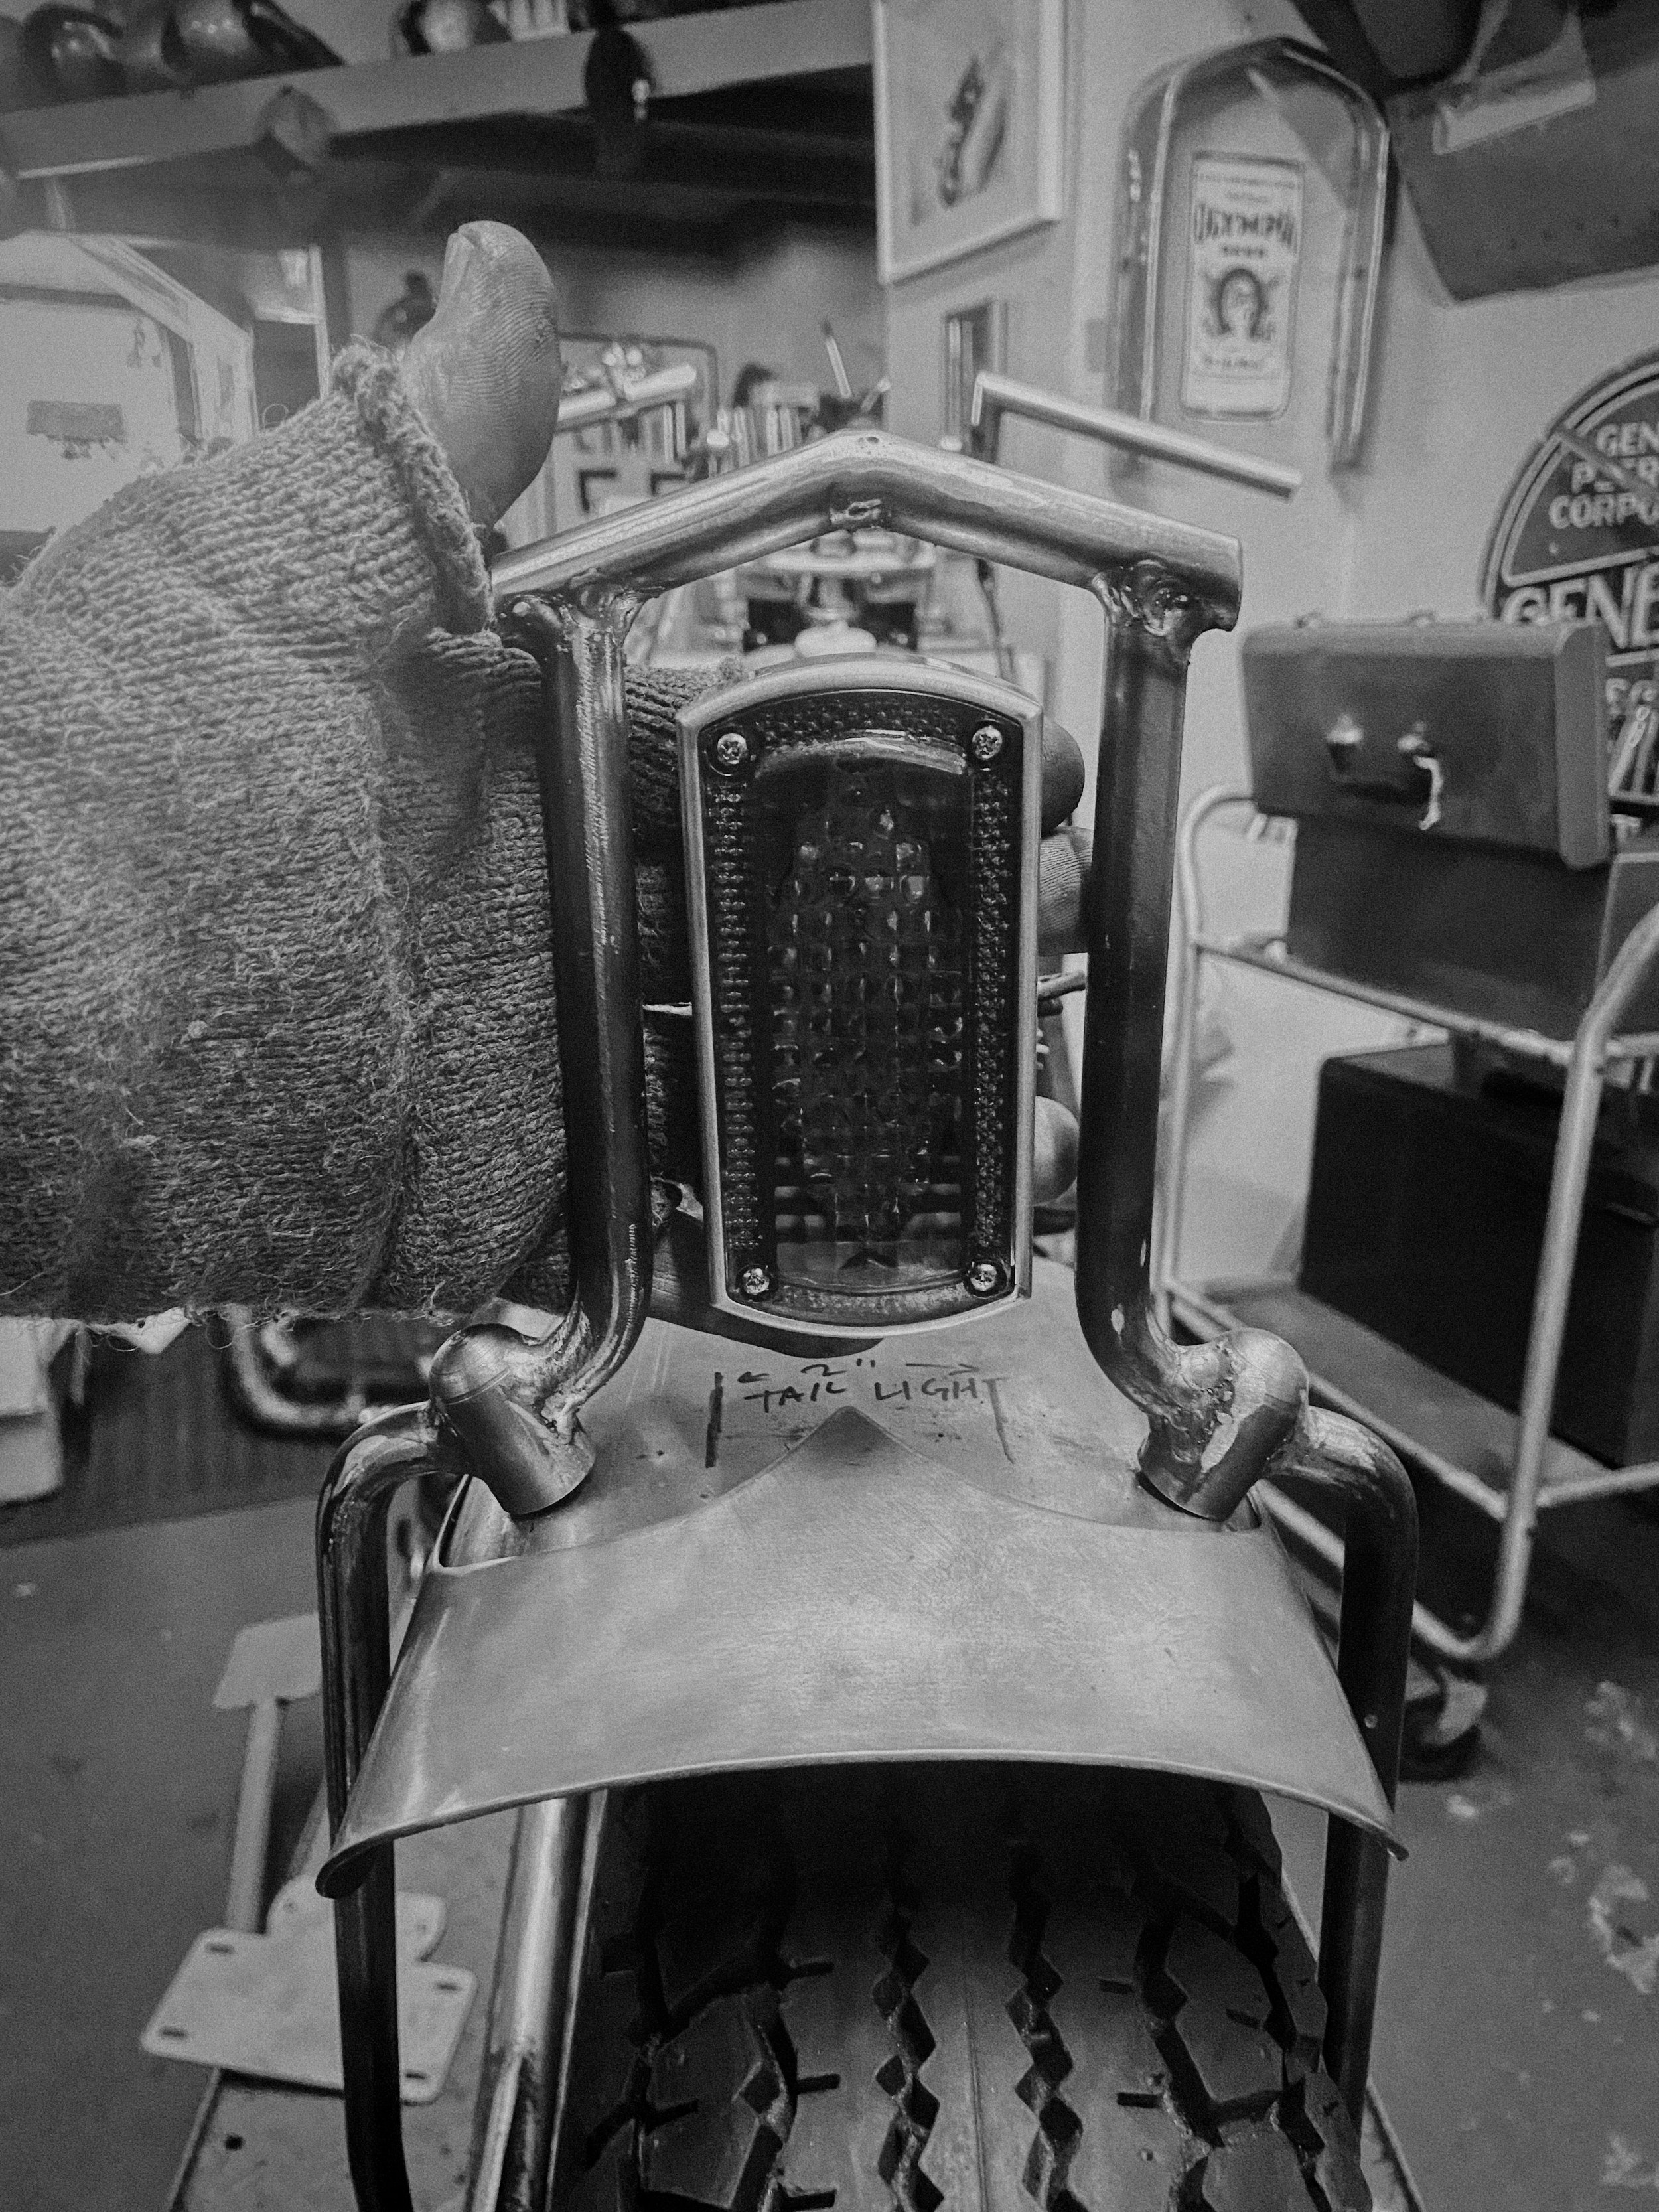
The fine details are what makes or breaks a custom build. Each design choice has to work in concert with each other. In this week’s blog we look at some of the obvious, as well as little noticed, details that have gone into the 1963 Triumph build. To be honest, it has been difficult to think of what detail to start with for this blog. The one that seems to have resonated with most who have seen it is the sissybar/light mount.

Jimmi Davies original concept sketch.
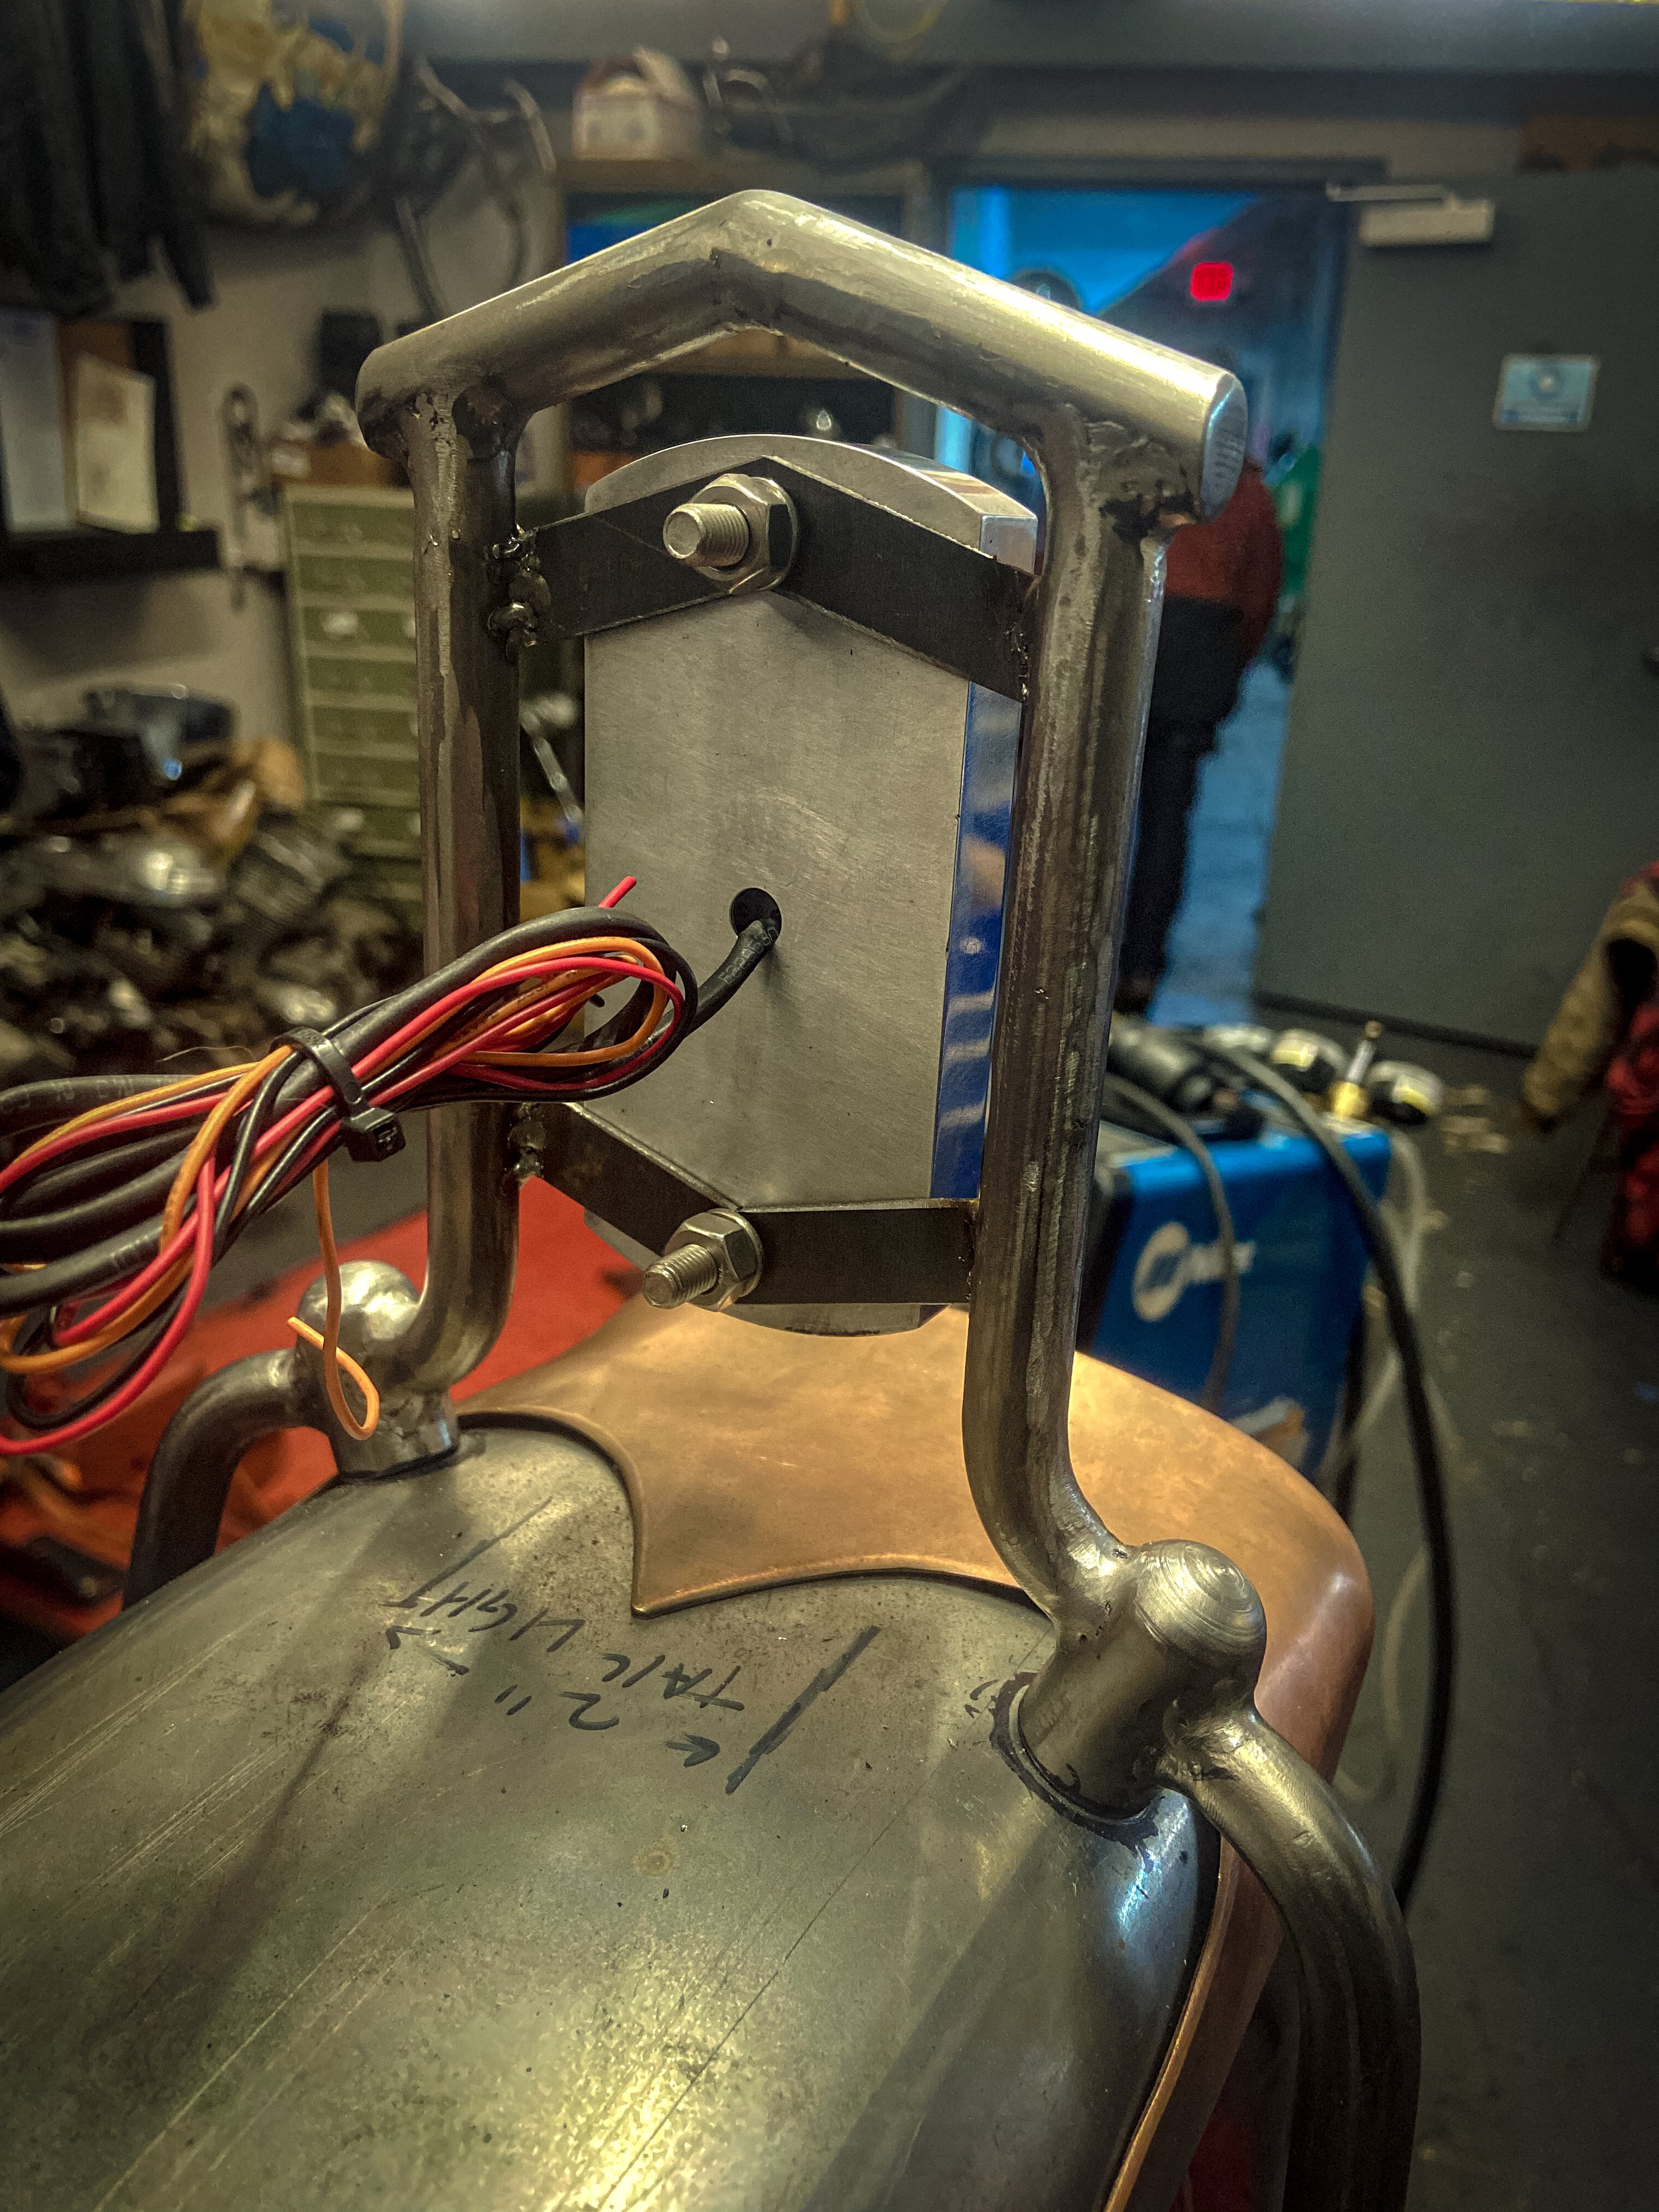
Part of what has made this project special is the changes in course that have been made from the original plans. Originally the bike called for a tiered/stacked sissybar to match the stacks in the double z bar. We had purchased the Prism Supply slim light and license plate bracket with that in mind. But after looking at the line of sight from the rear of the bike Jimmi Davies had another plan in mind. Rather than mirror the rise and tiers of the handlebars, the sissybar would complete the gap in the bars when looked at from a certain angle. This would mean ditching the plate placement and flipping the light 90 degrees.
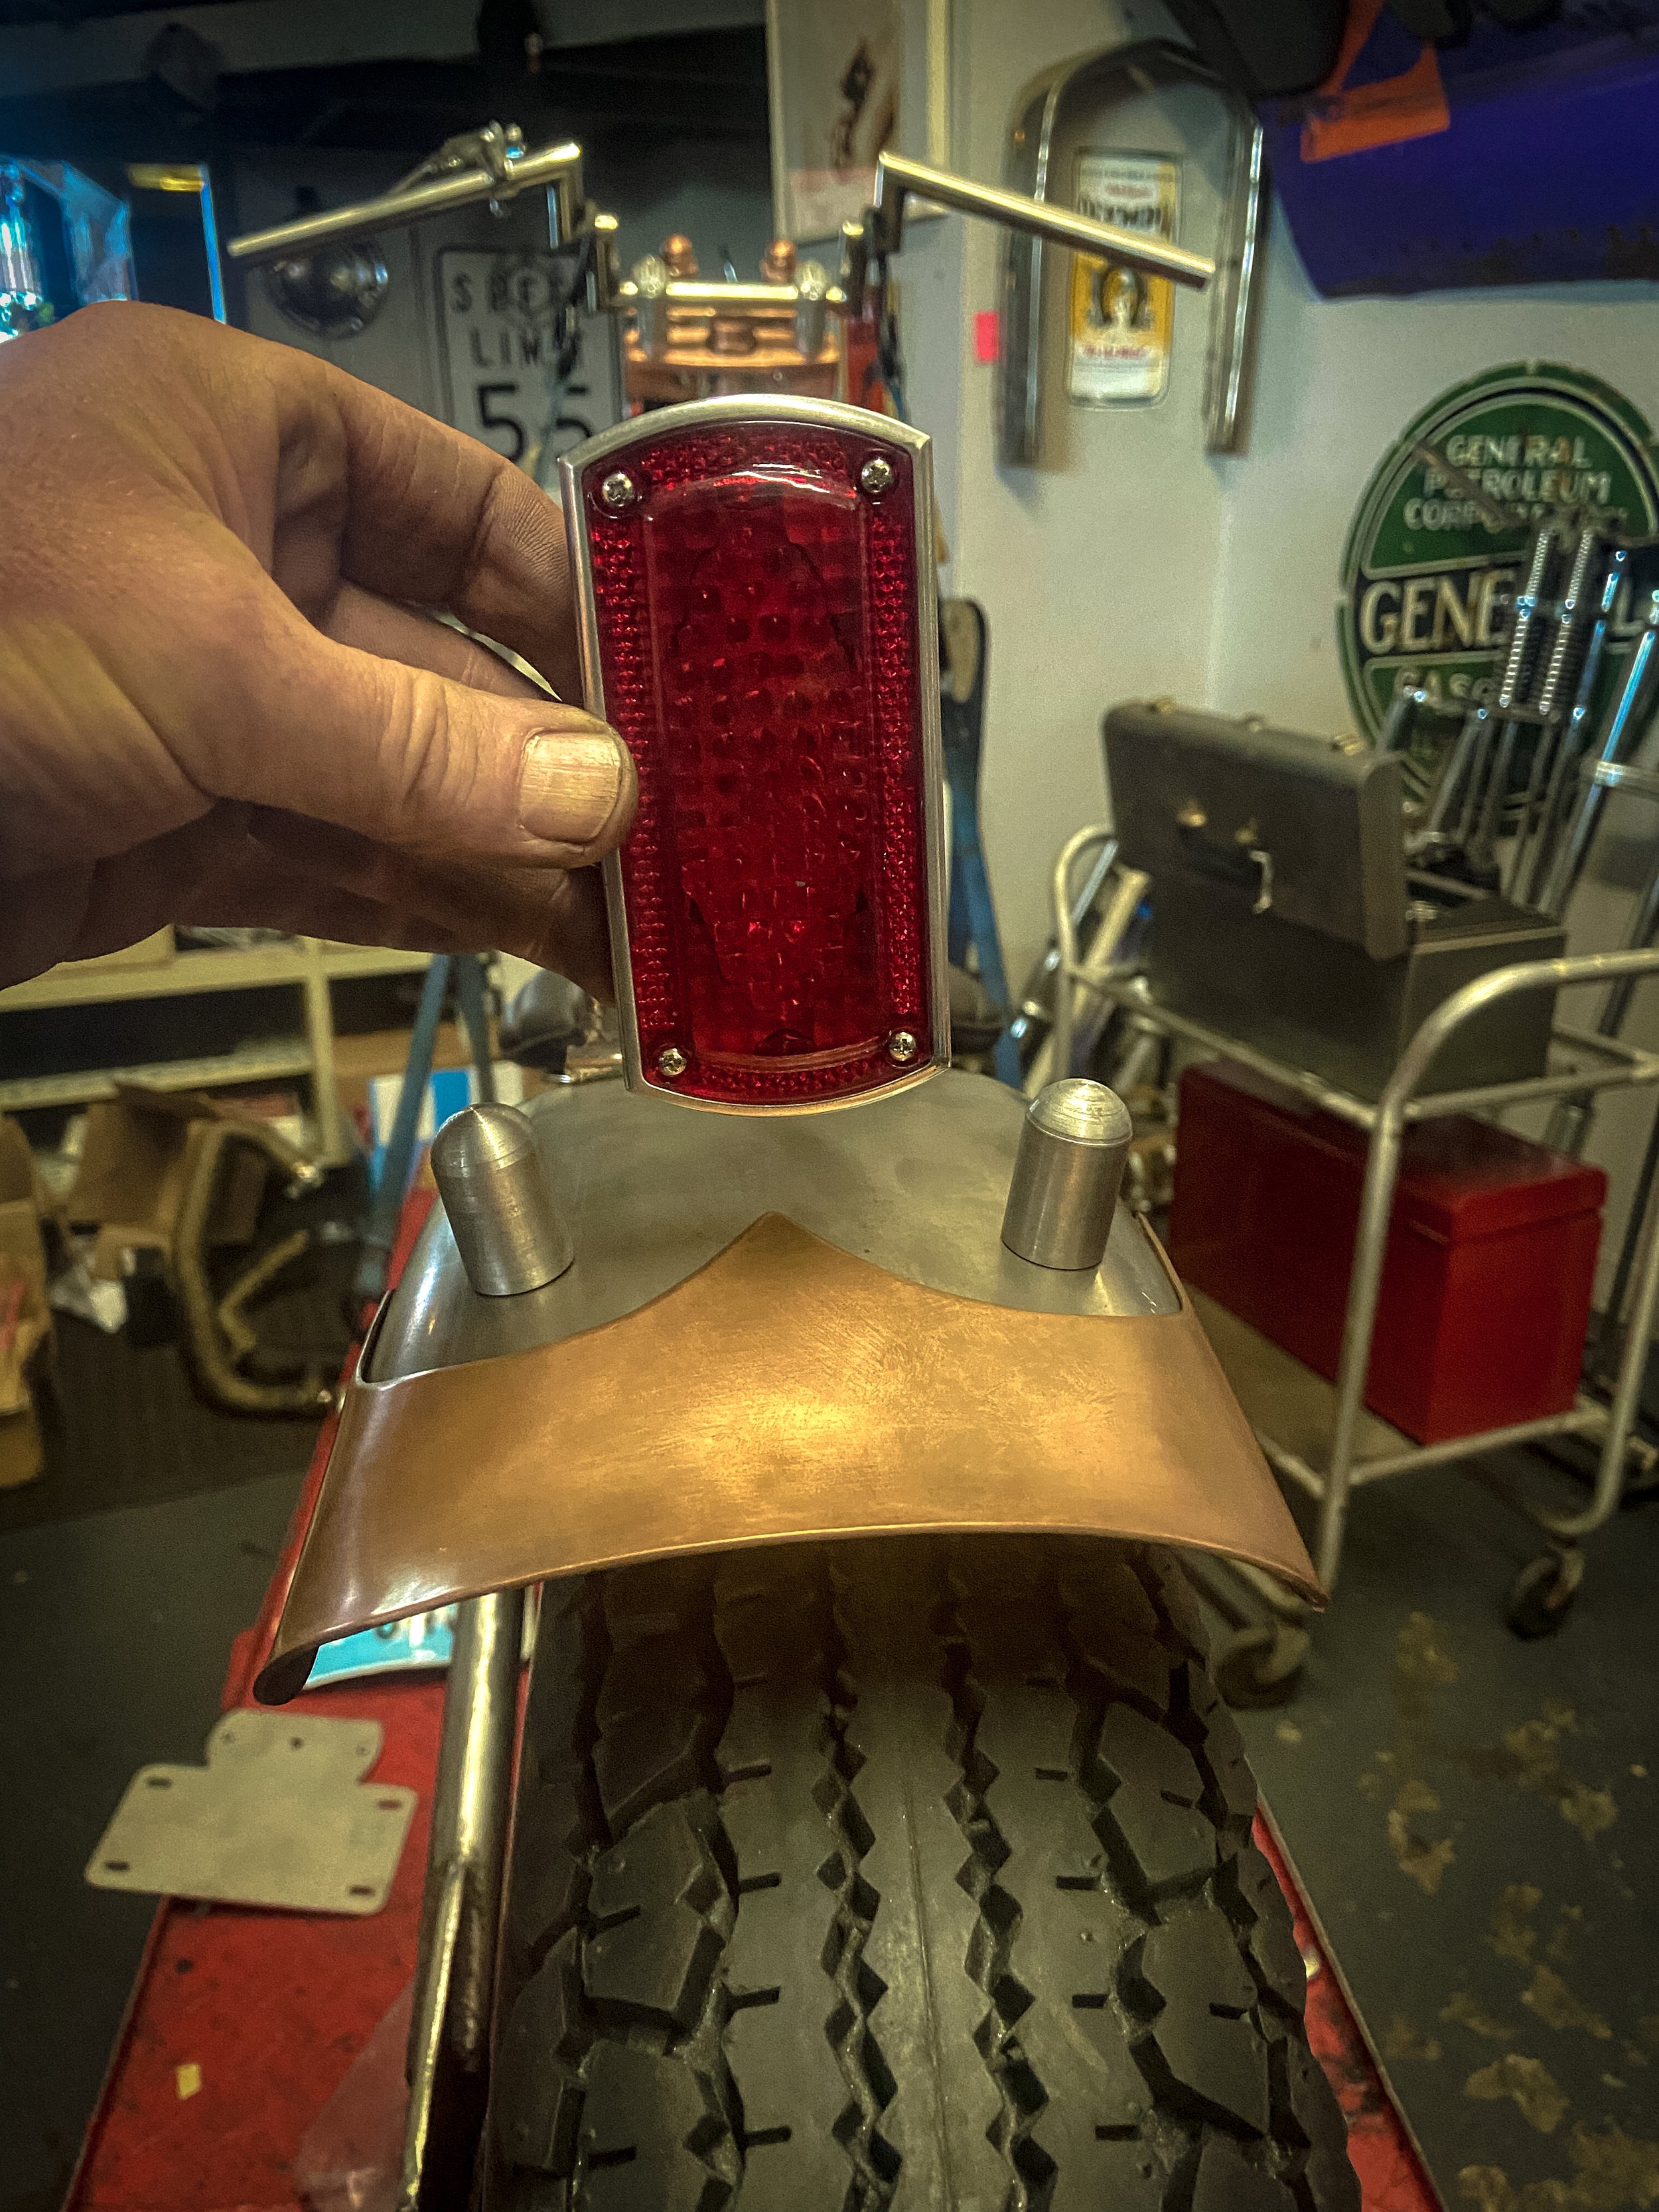
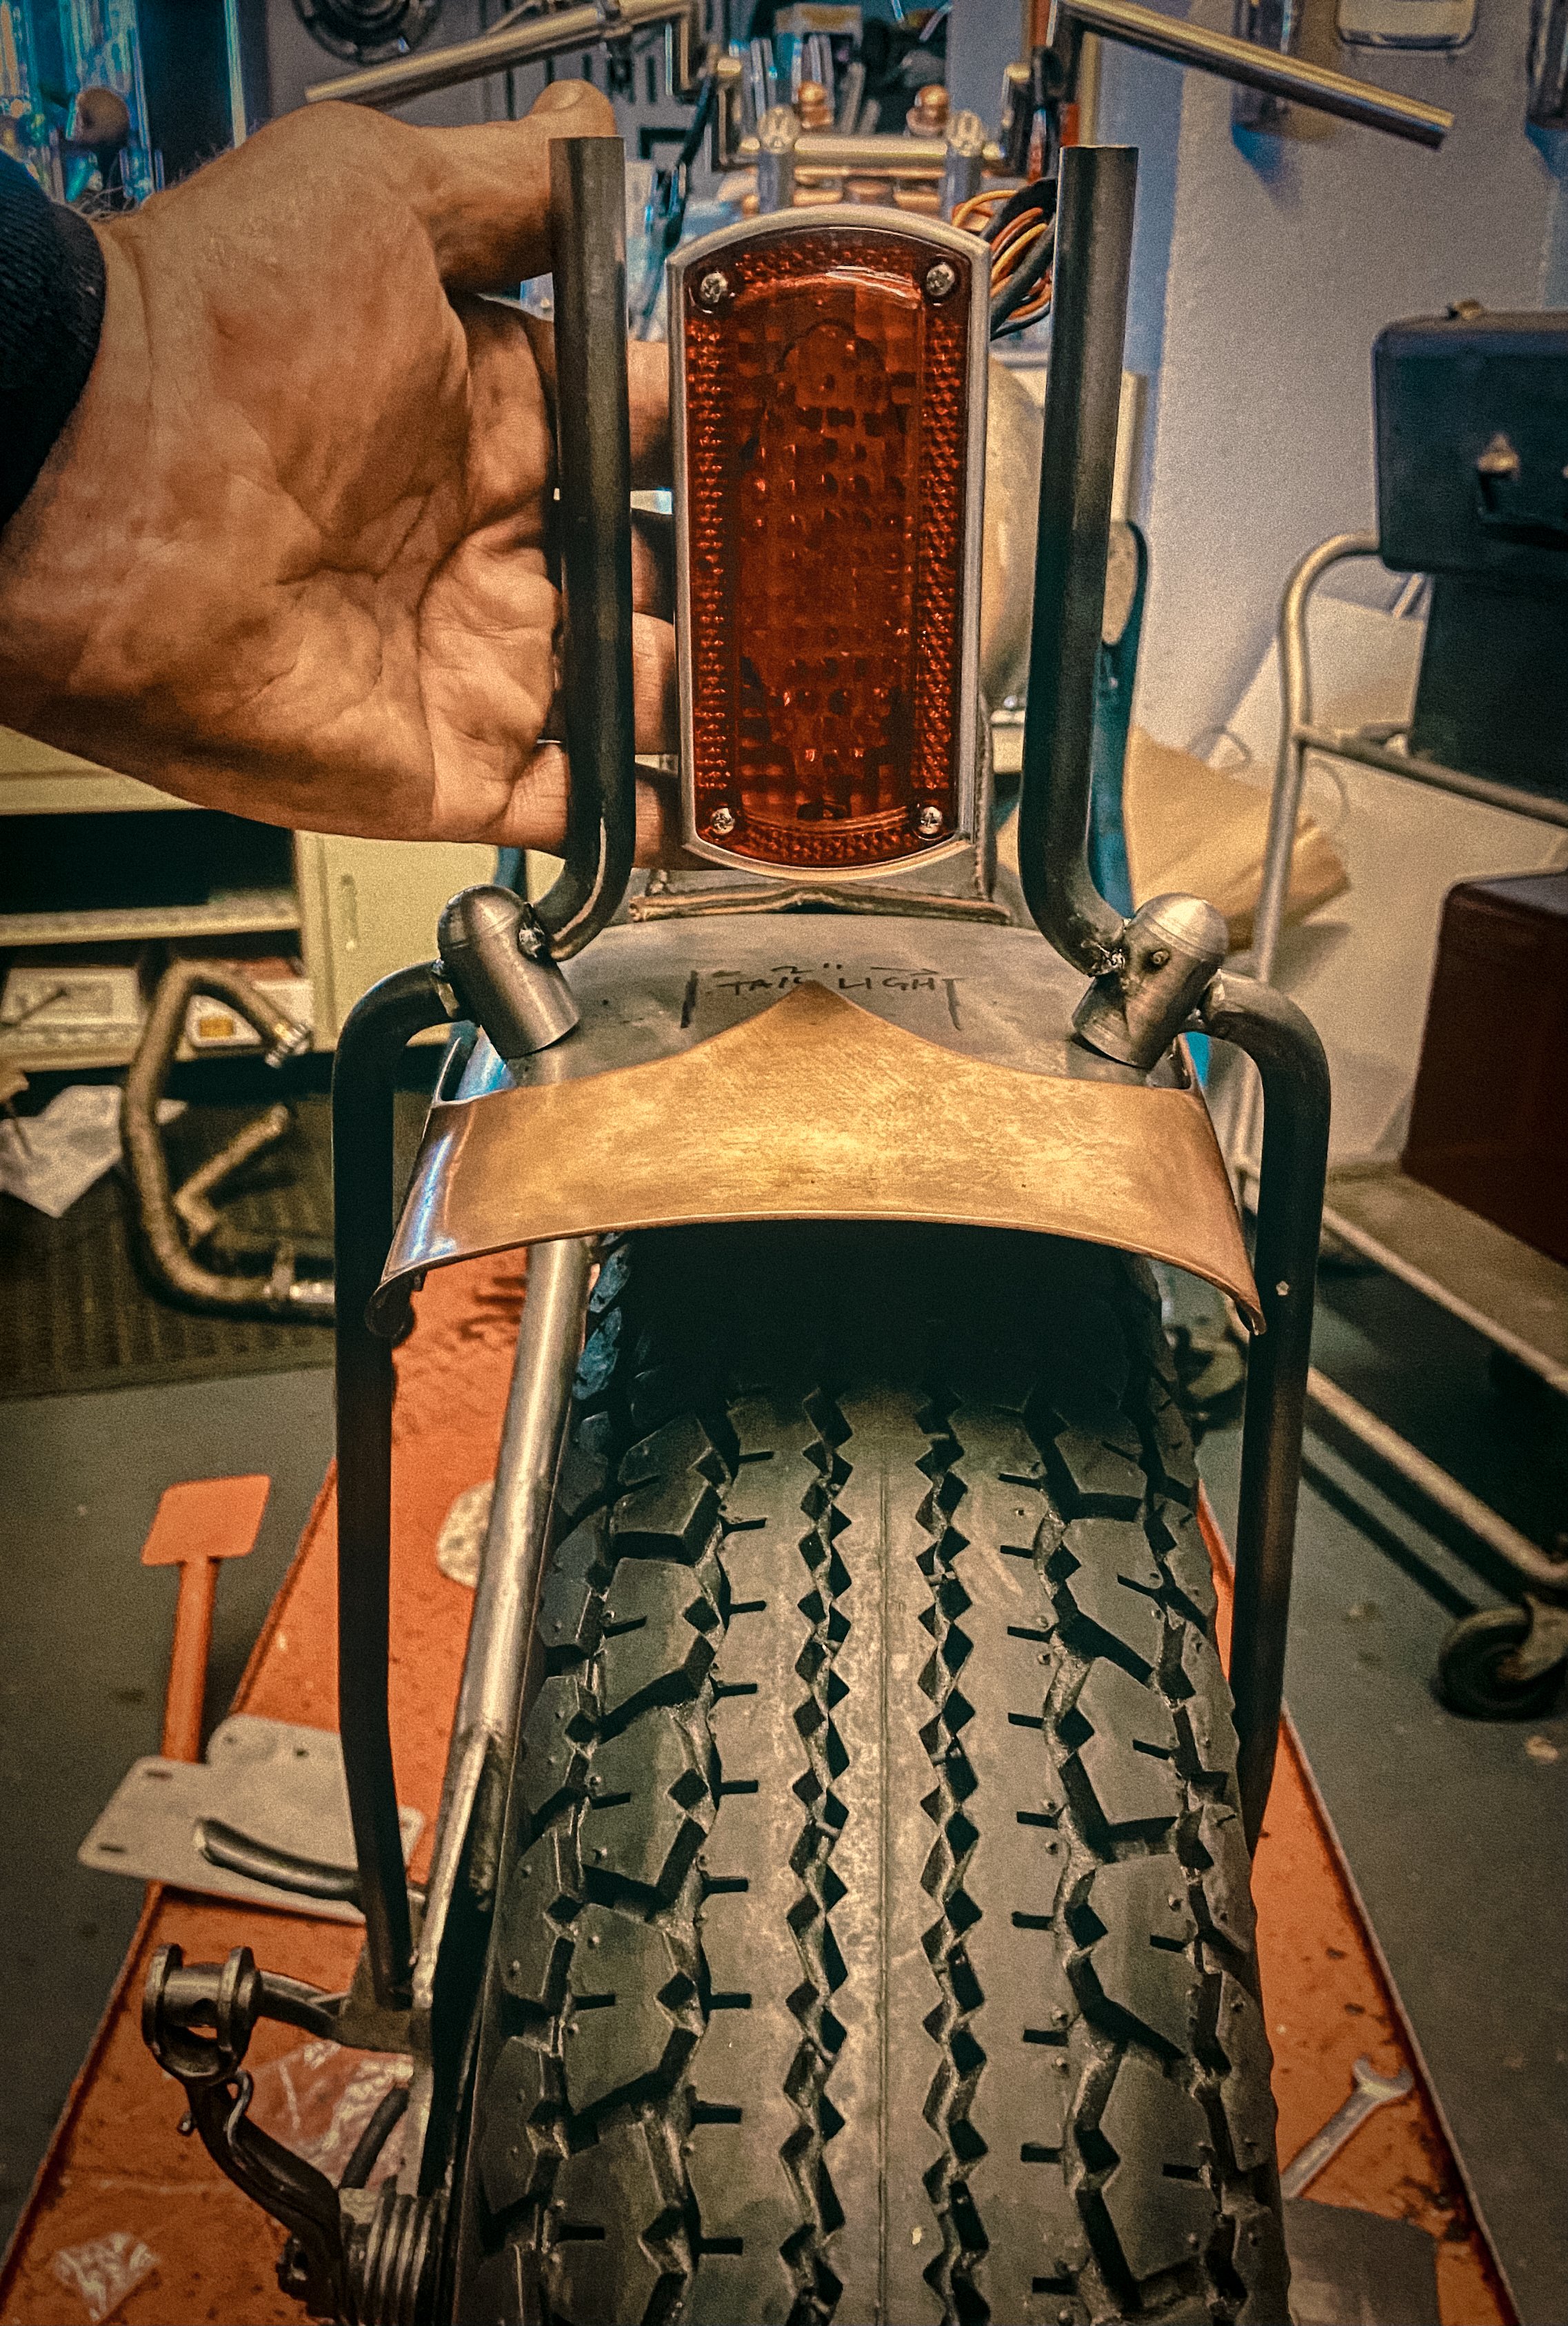
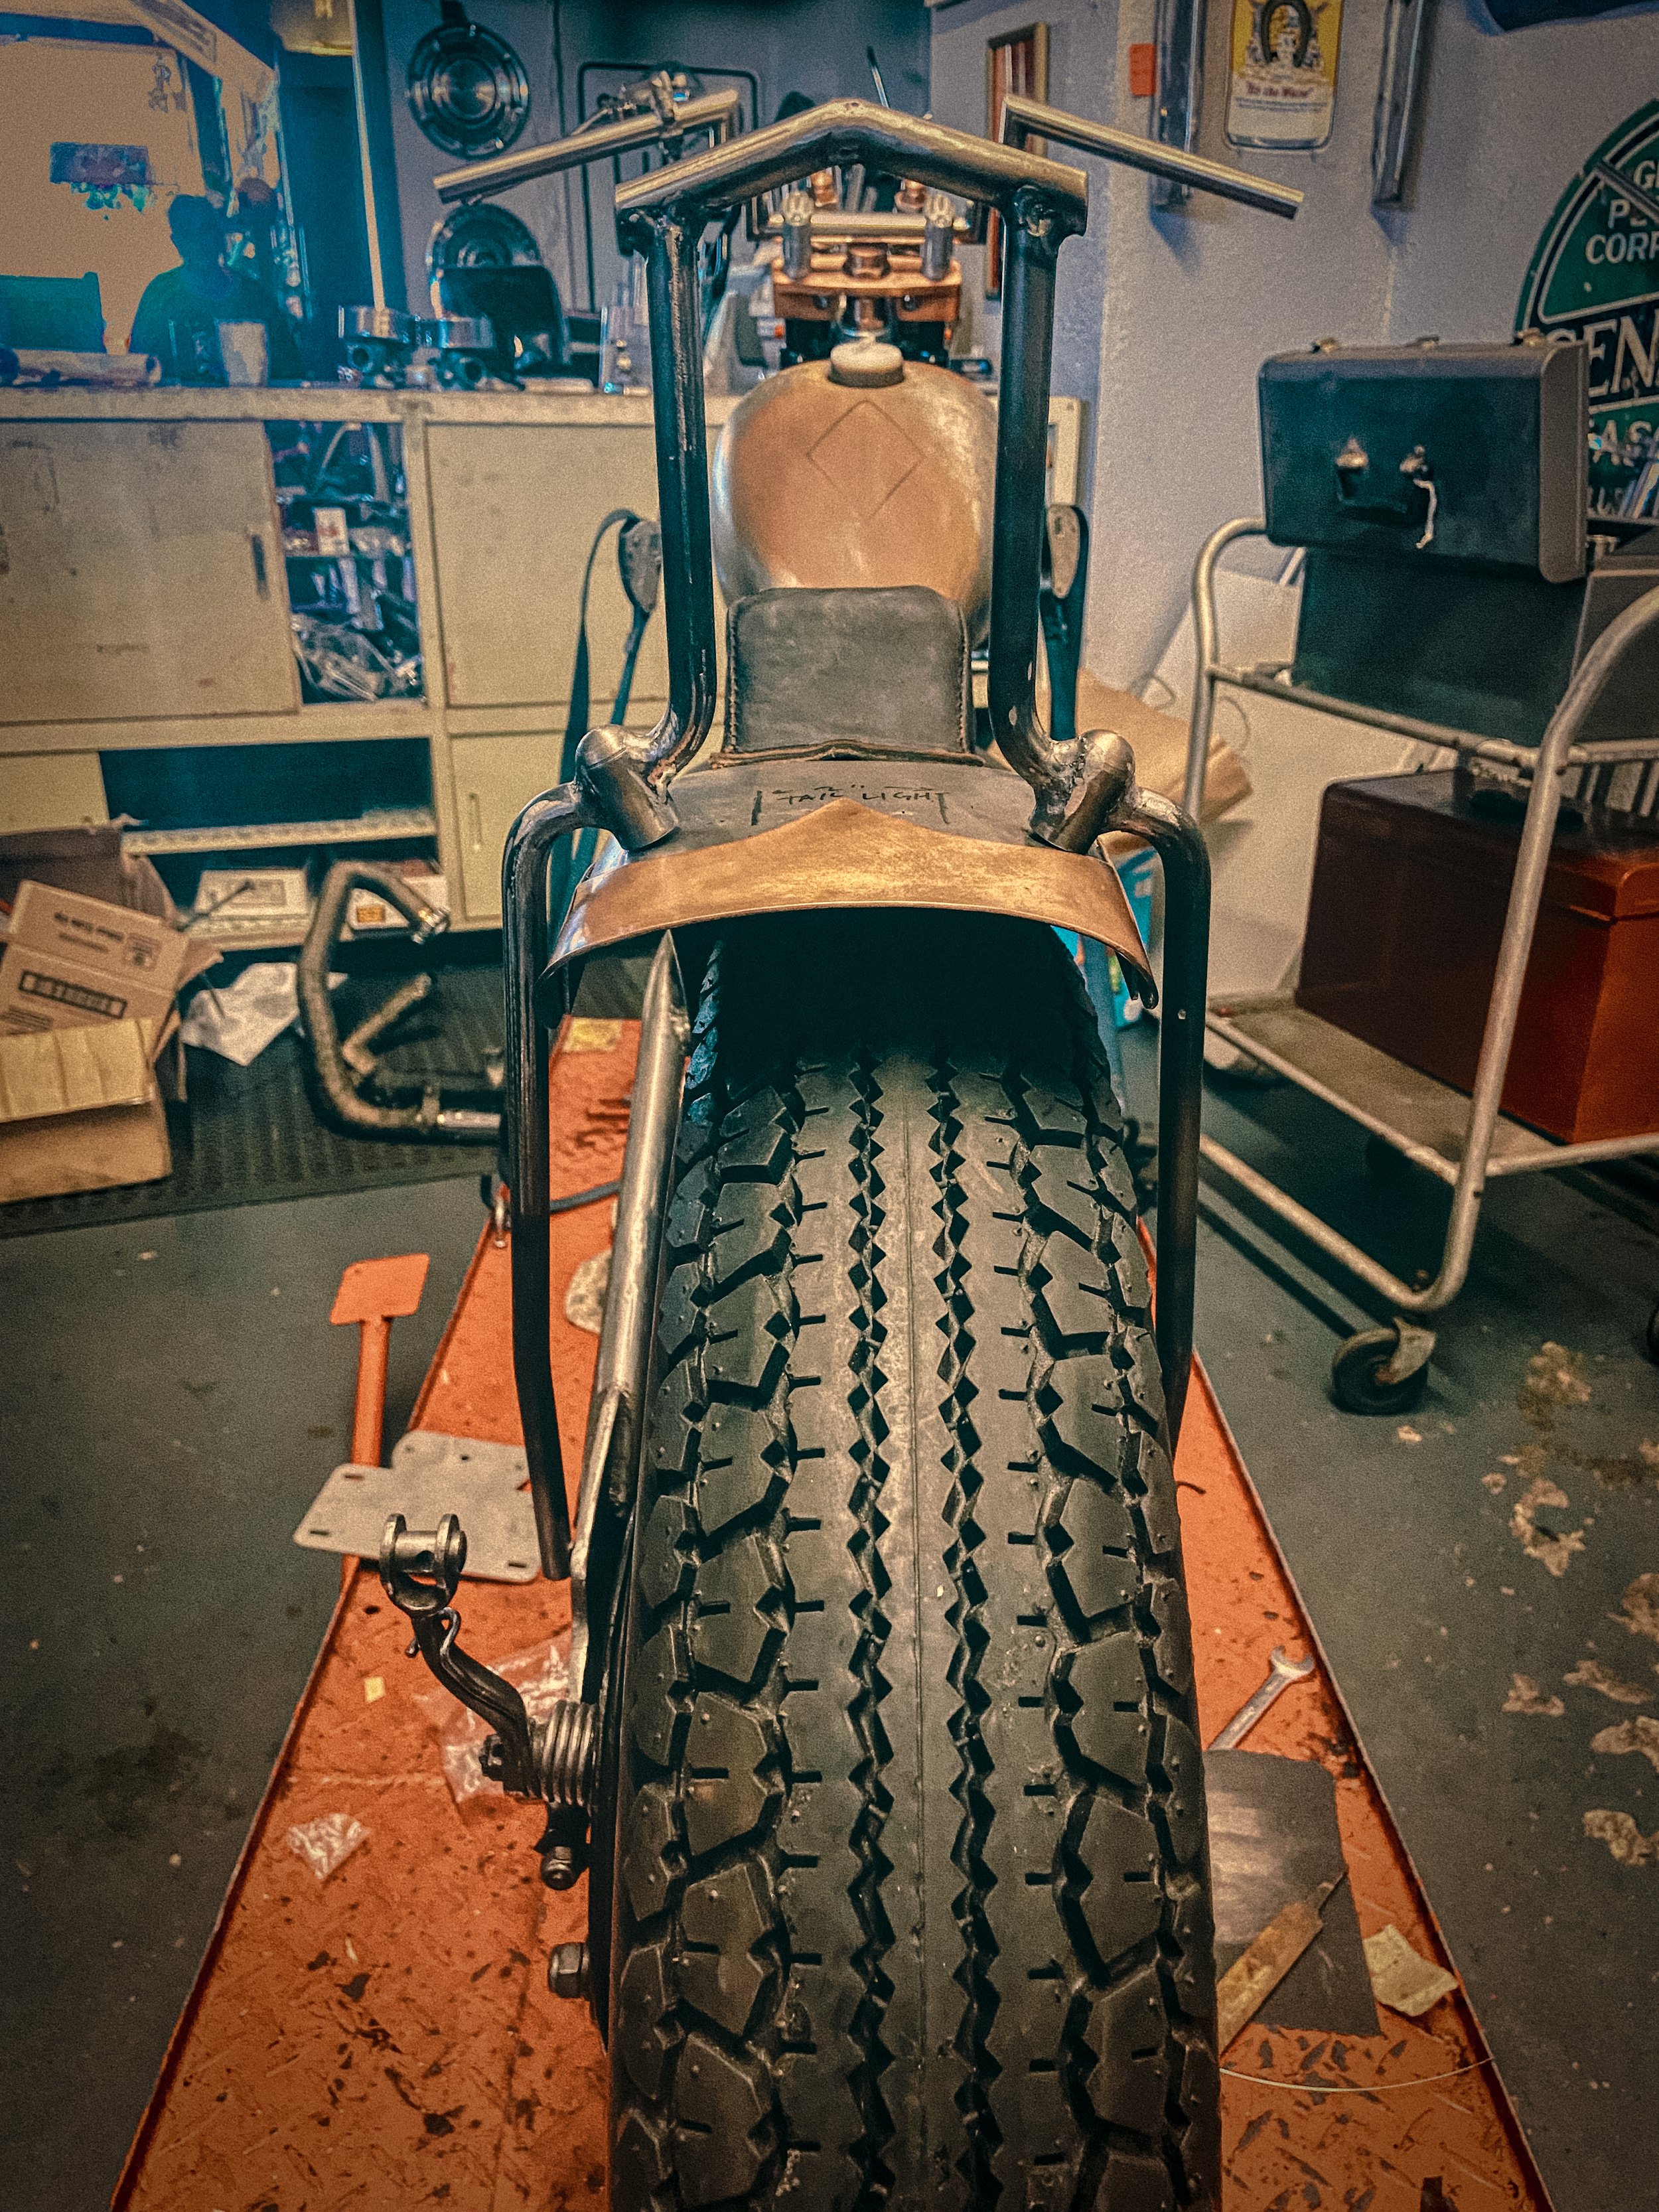
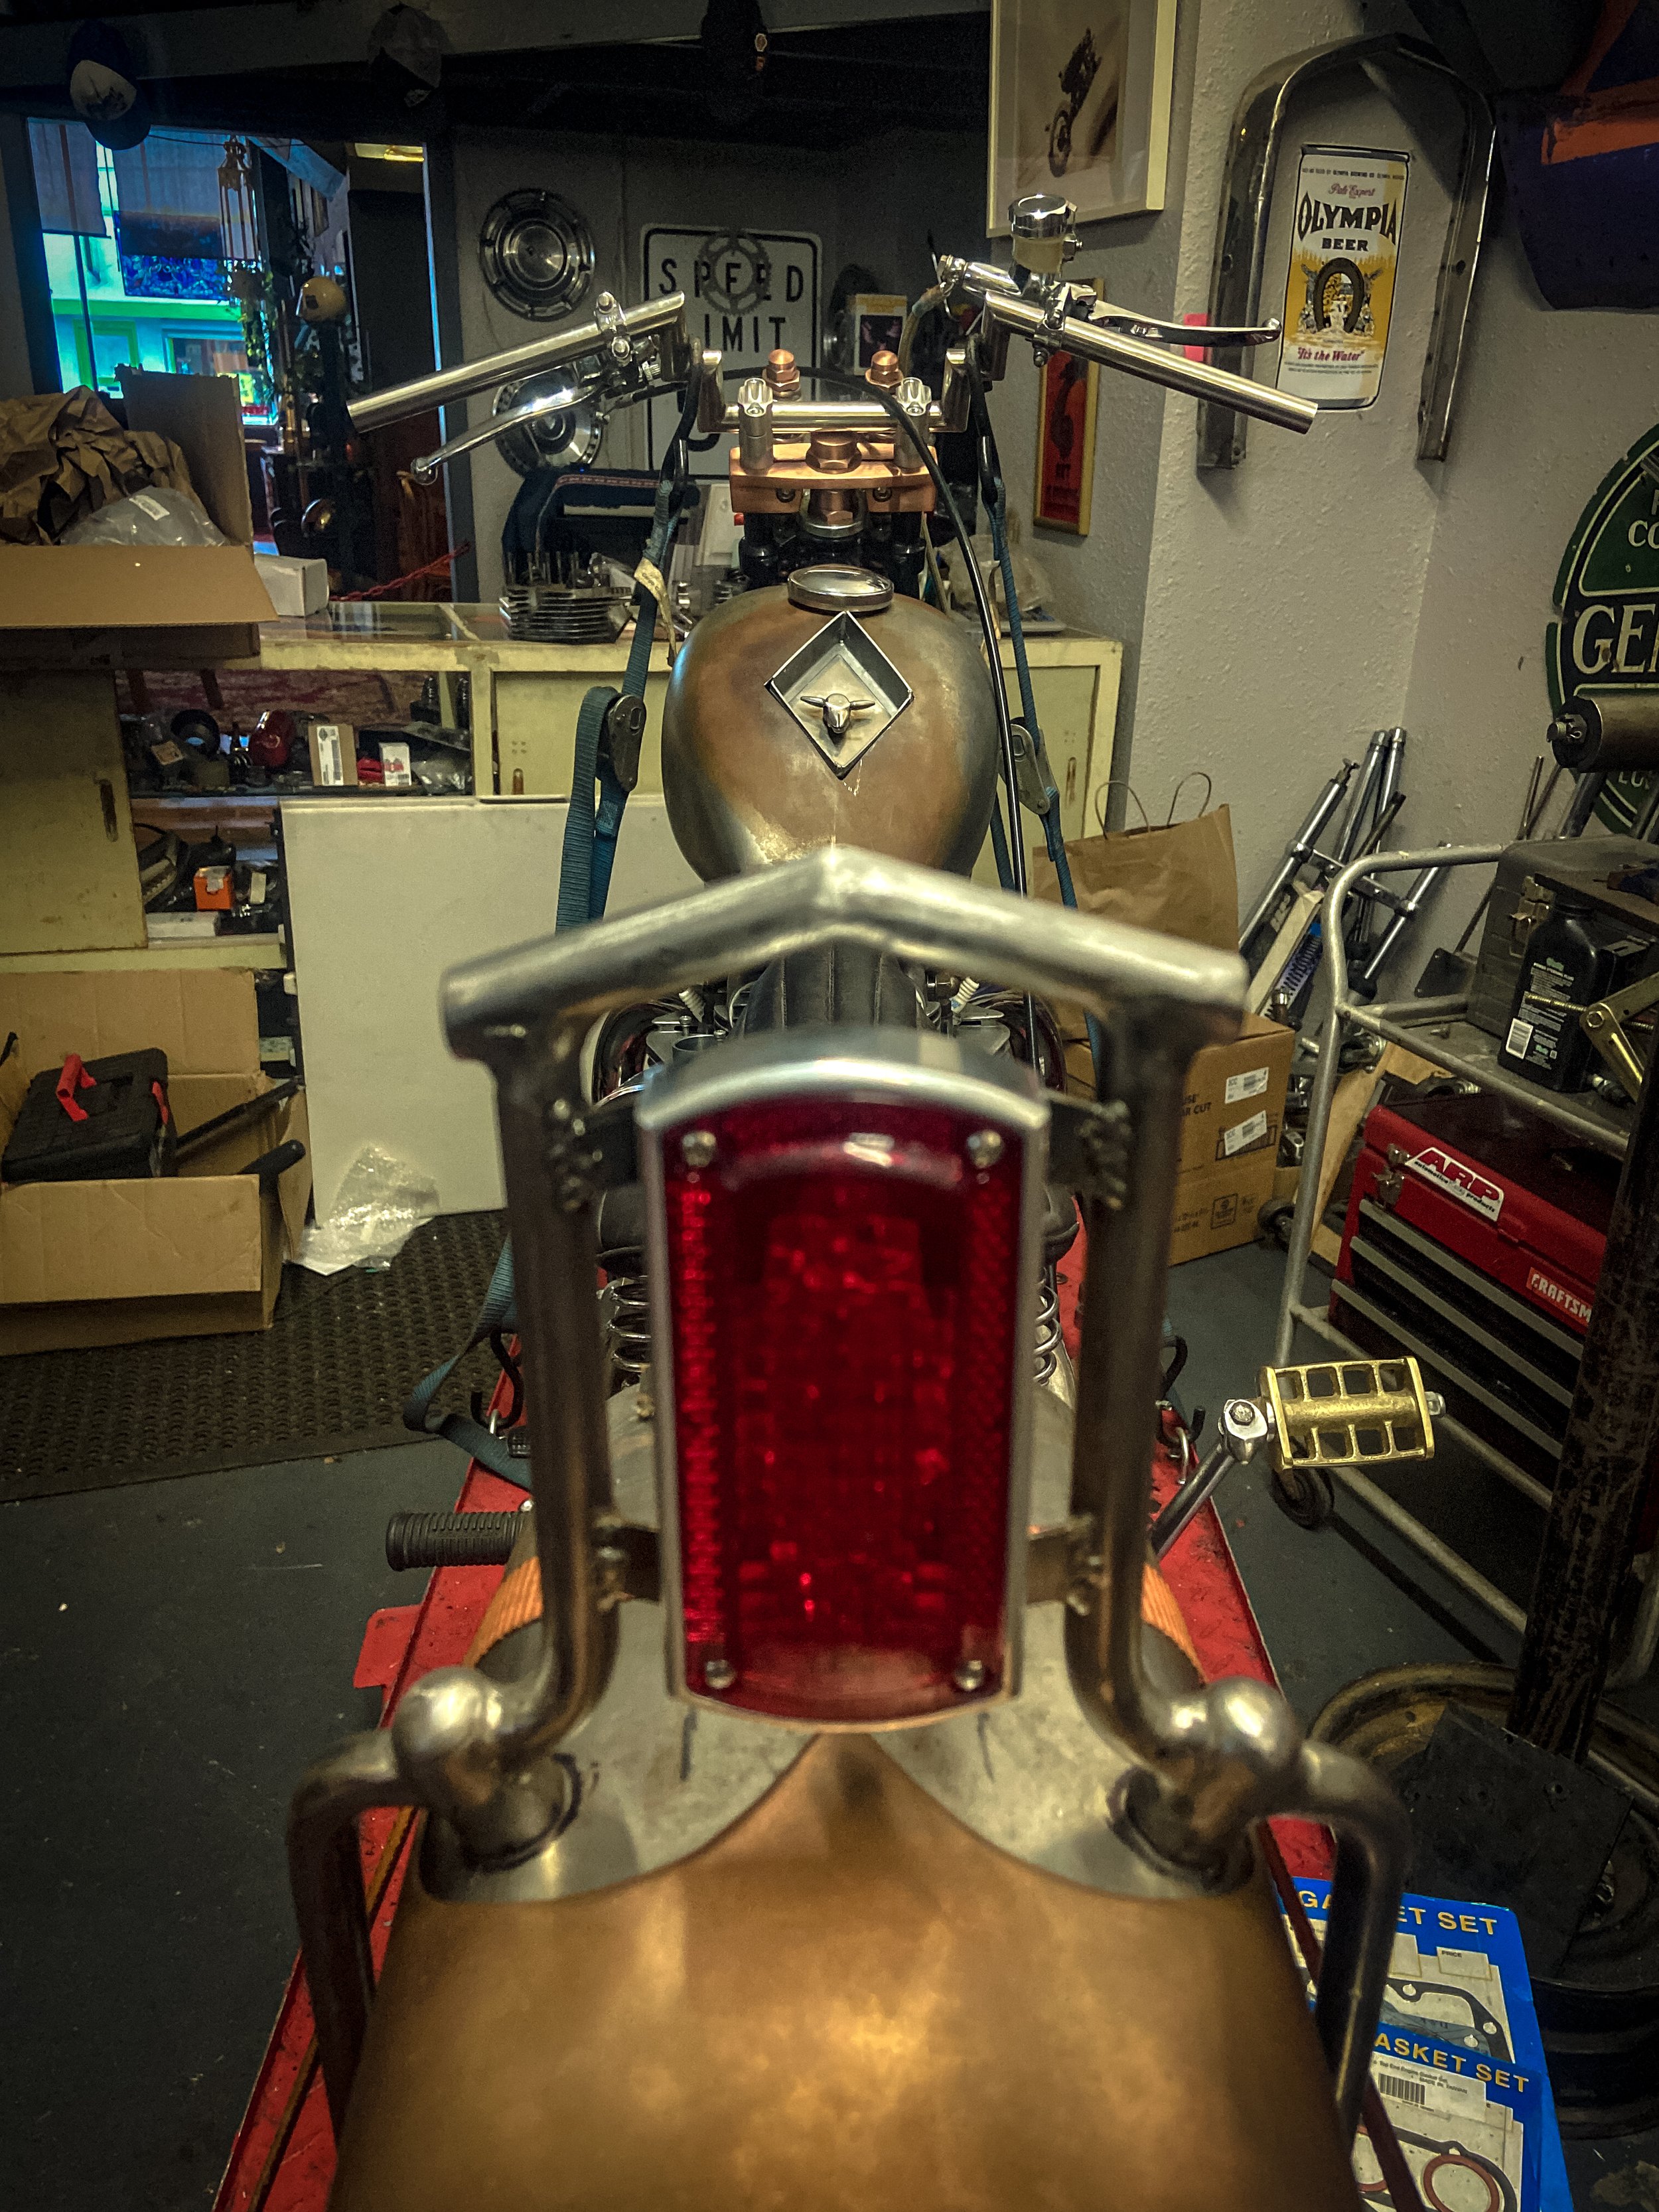
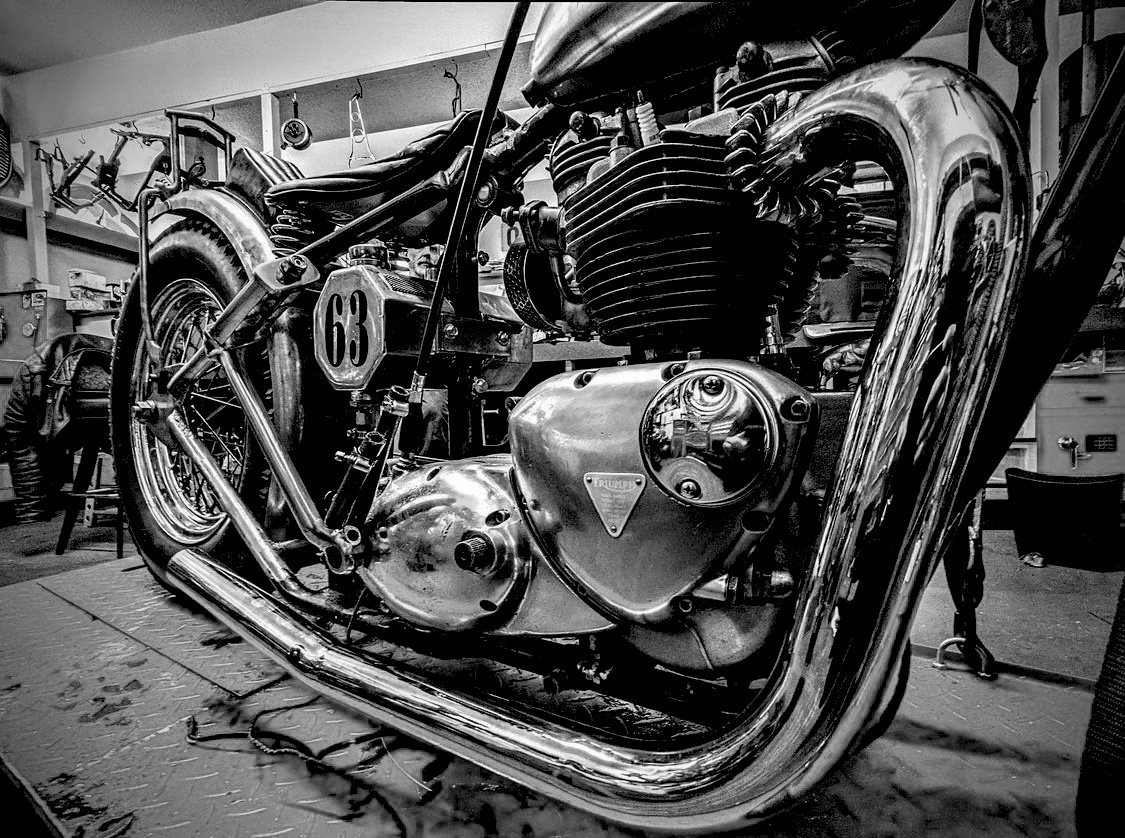
By now you may have noticed the copper accent on the fender. It should be noted, if we haven’t yet, that Jimmi Davies spent the better part of three decades as a celebrated coppersmith creating beautiful works of copper art and lighting that have been placed the world over. About fifteen years ago, Jimmi had an idea for a riveted on copper cap for a fender and built this tip. Problem is he never got around to using it, and with the 1963 Triumph build, it served as a great starting off point (pun celebrated) to help guide the build as it moved forward.
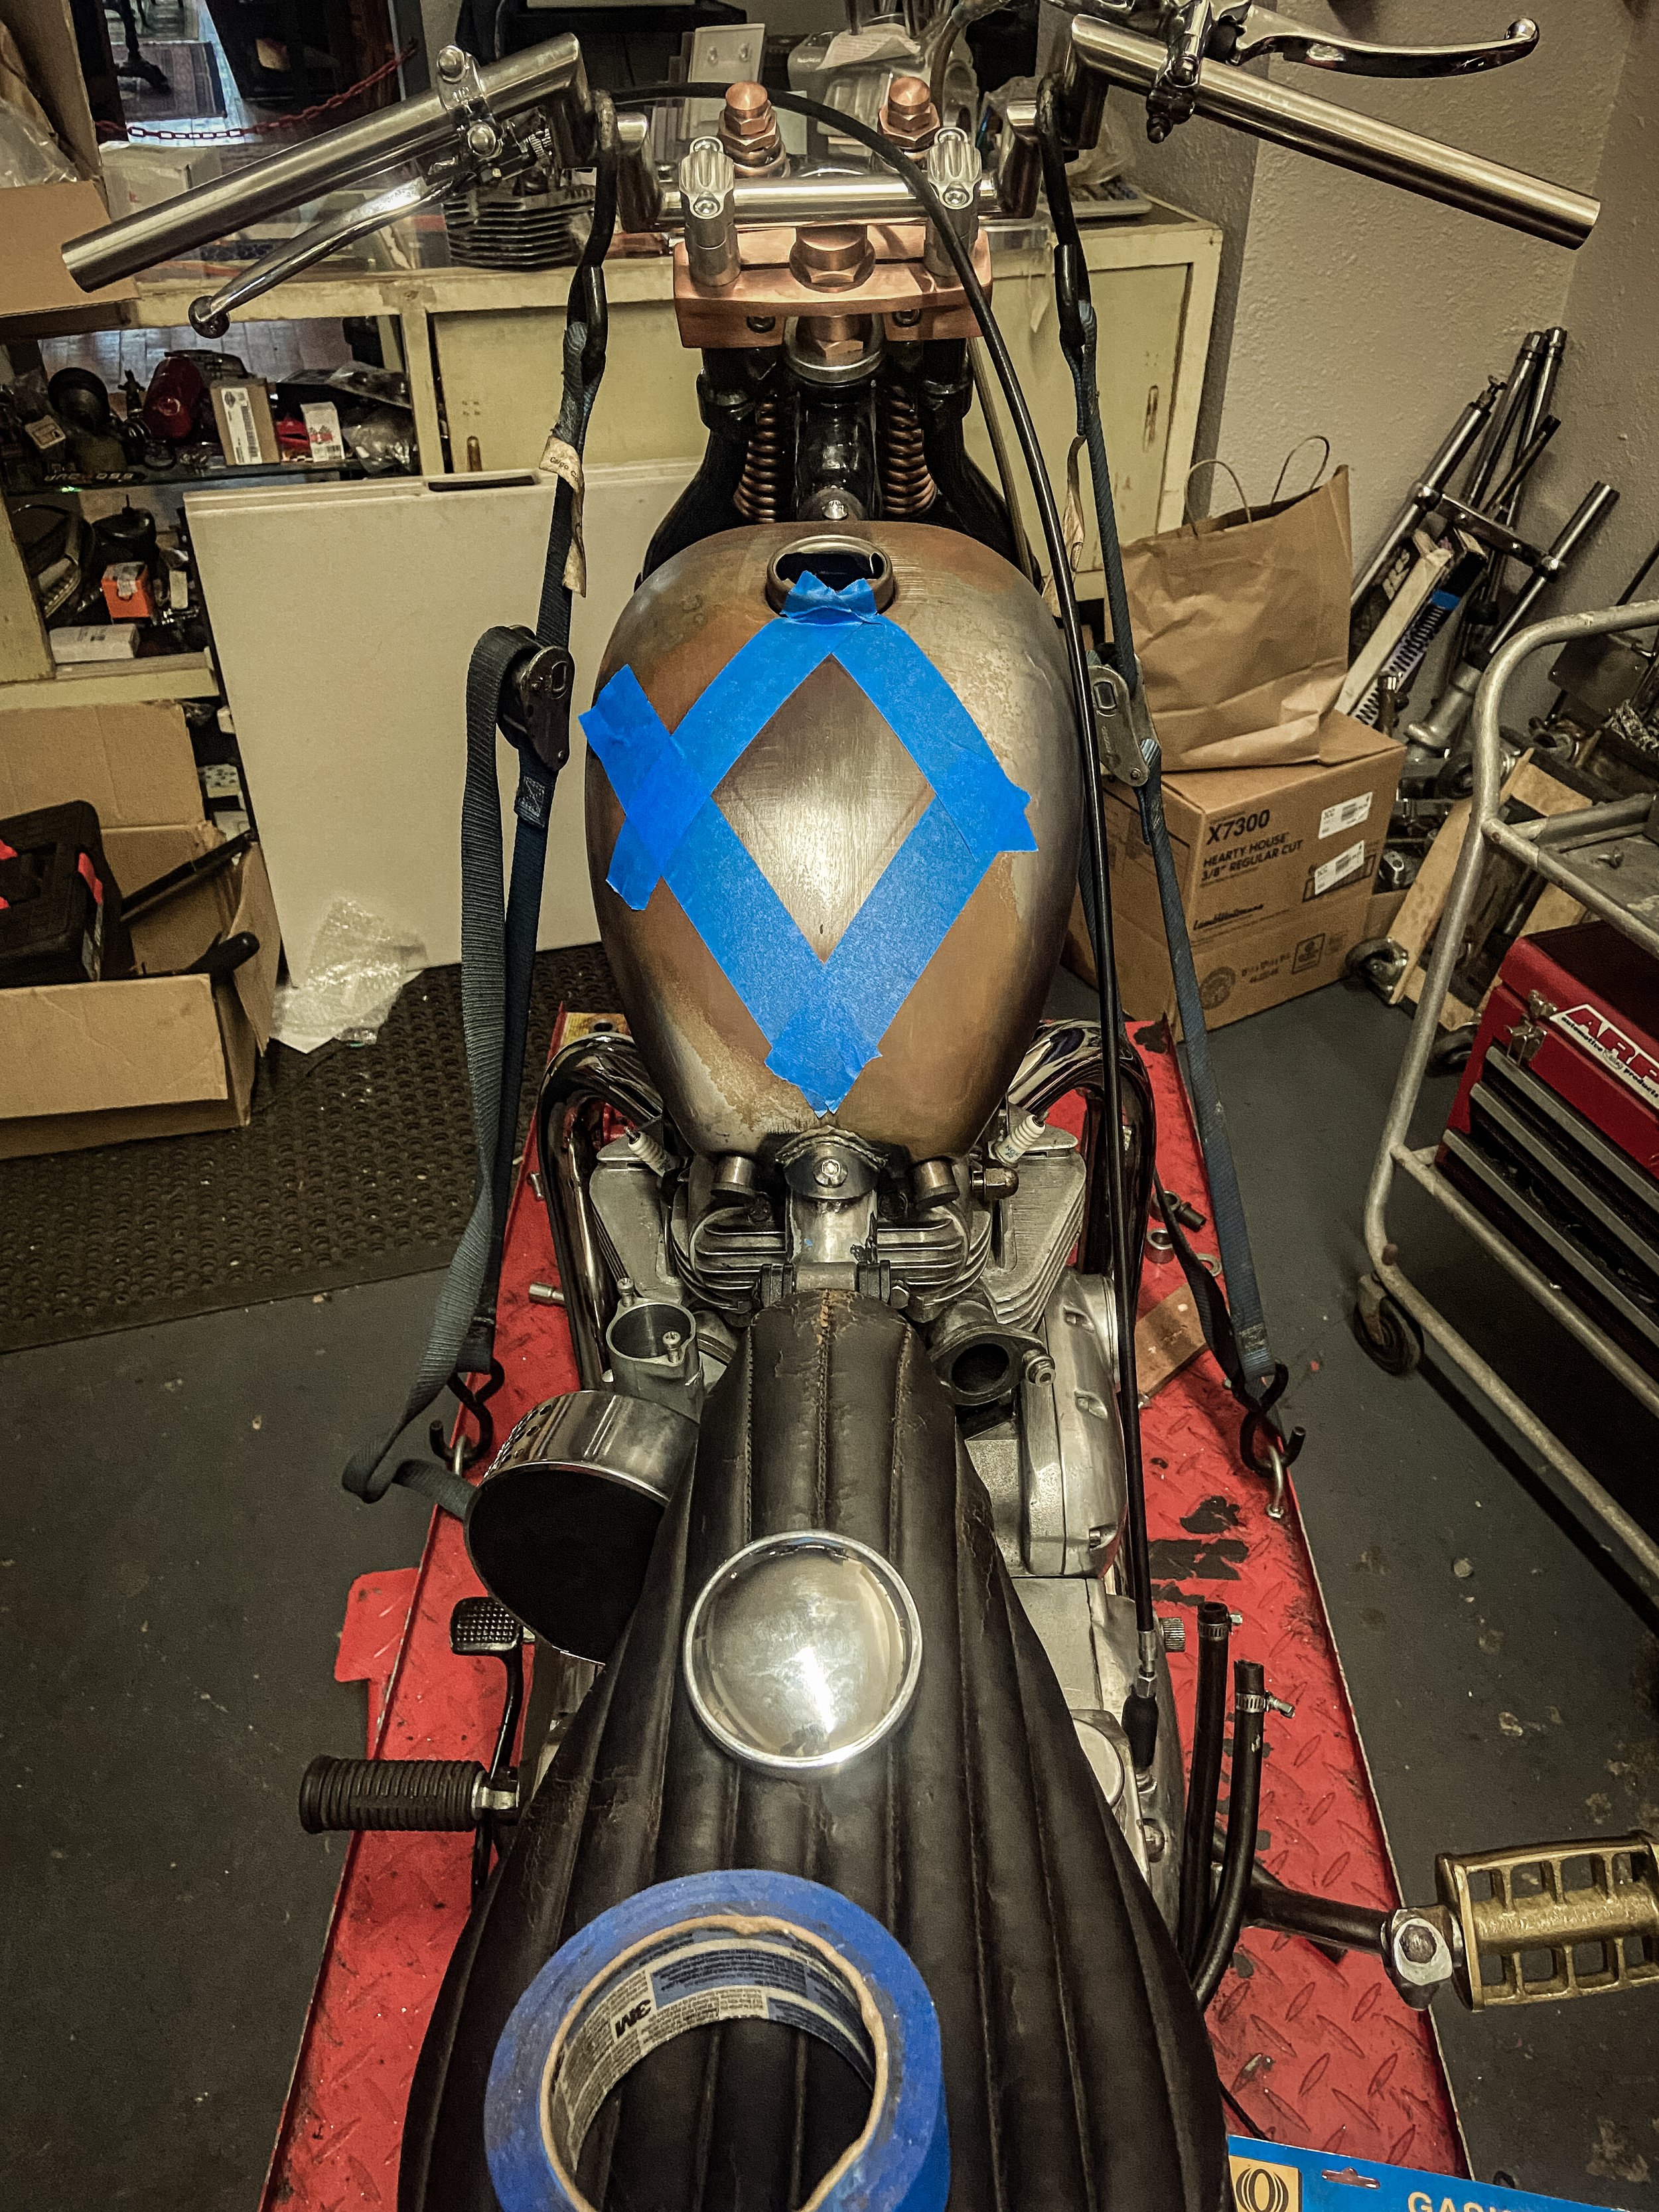
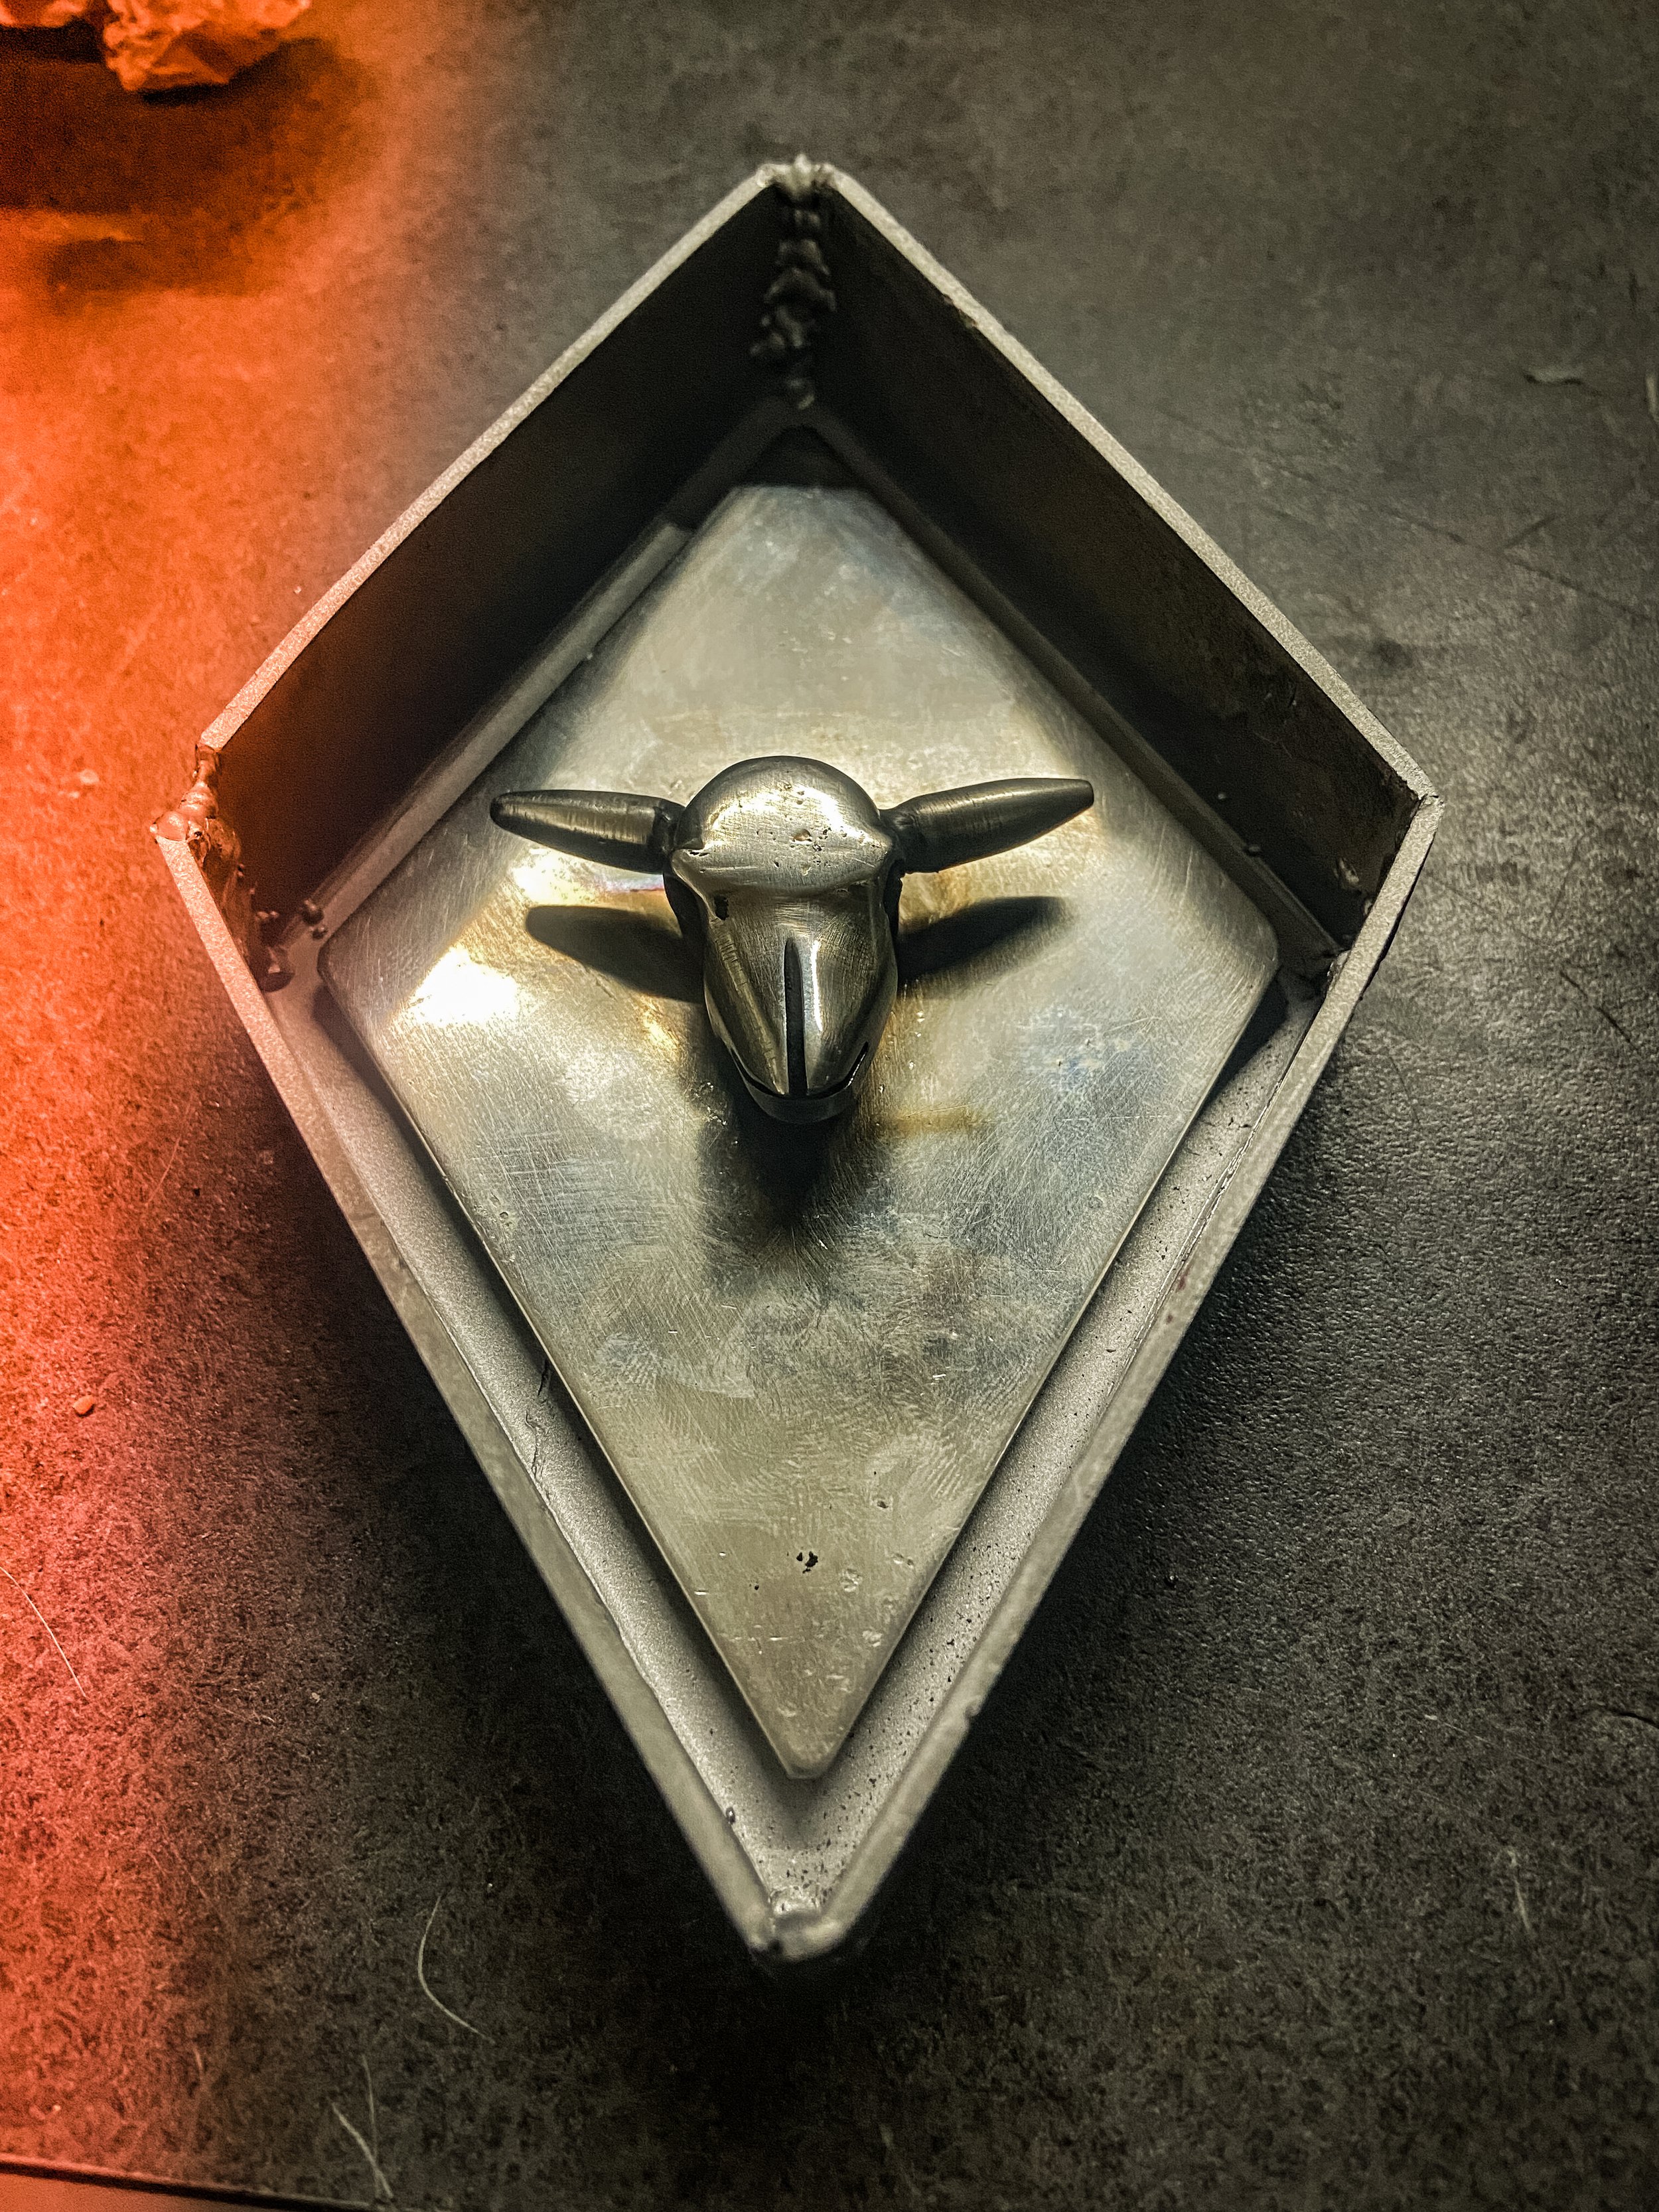
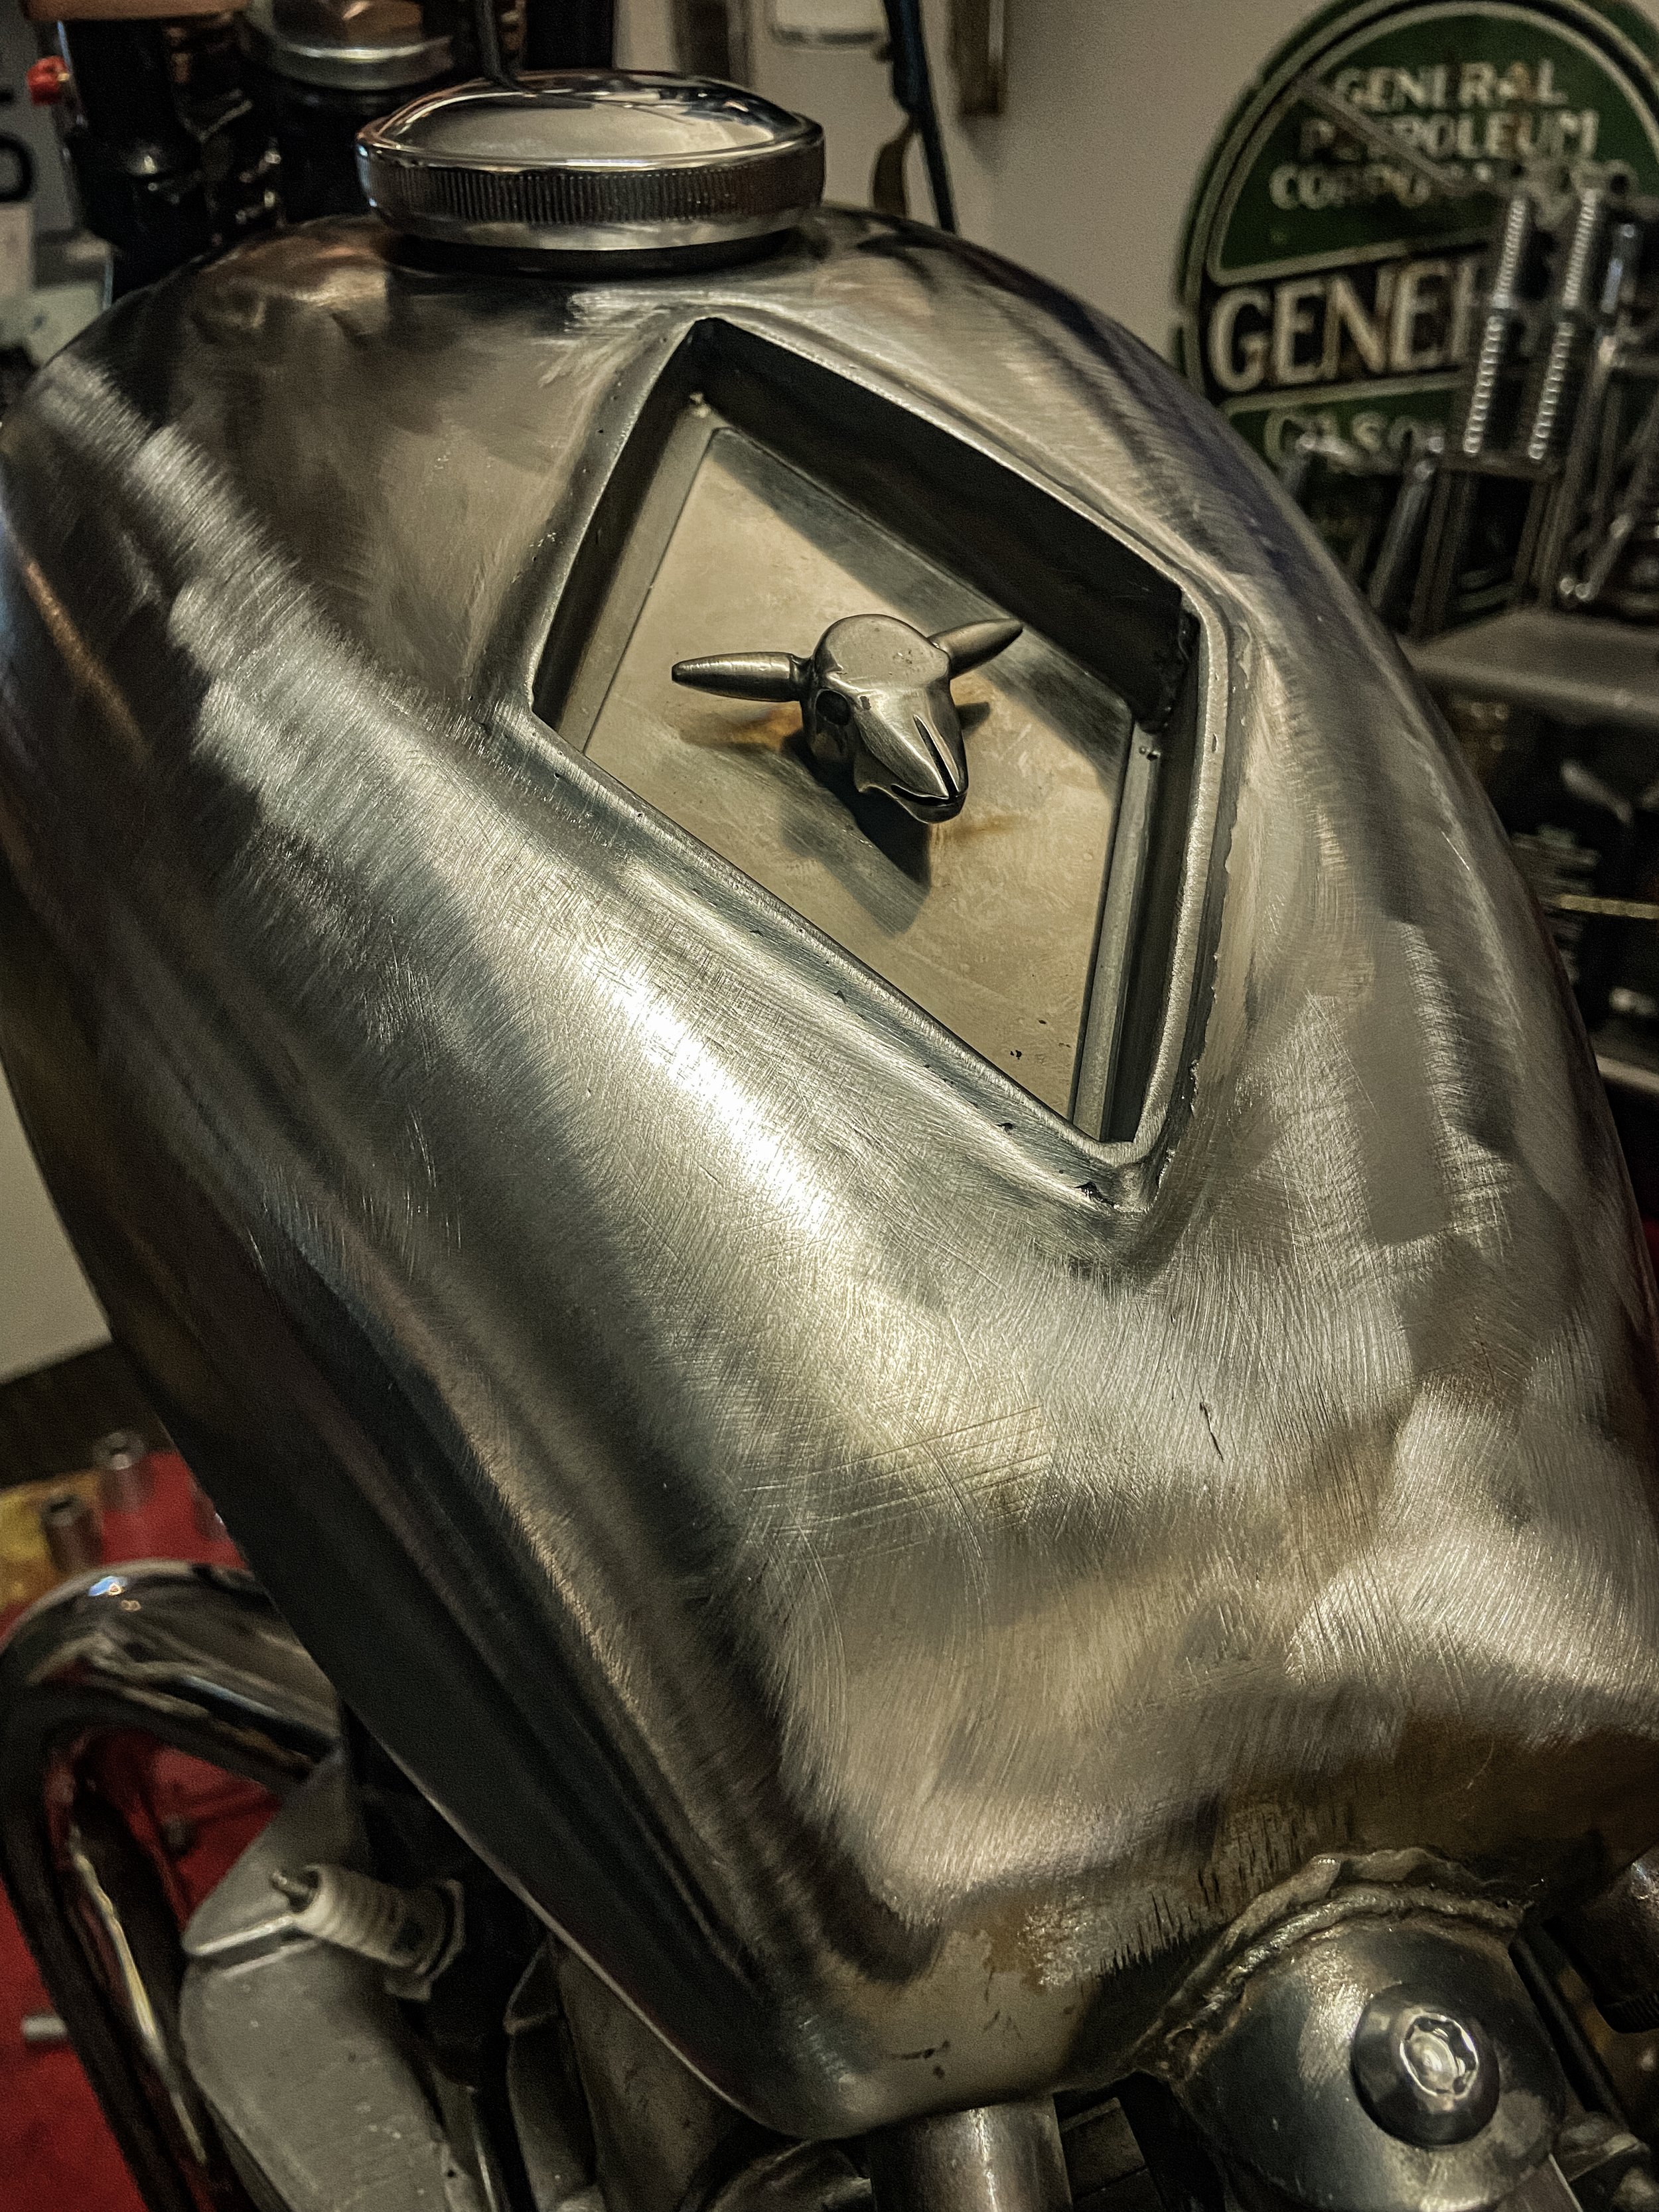
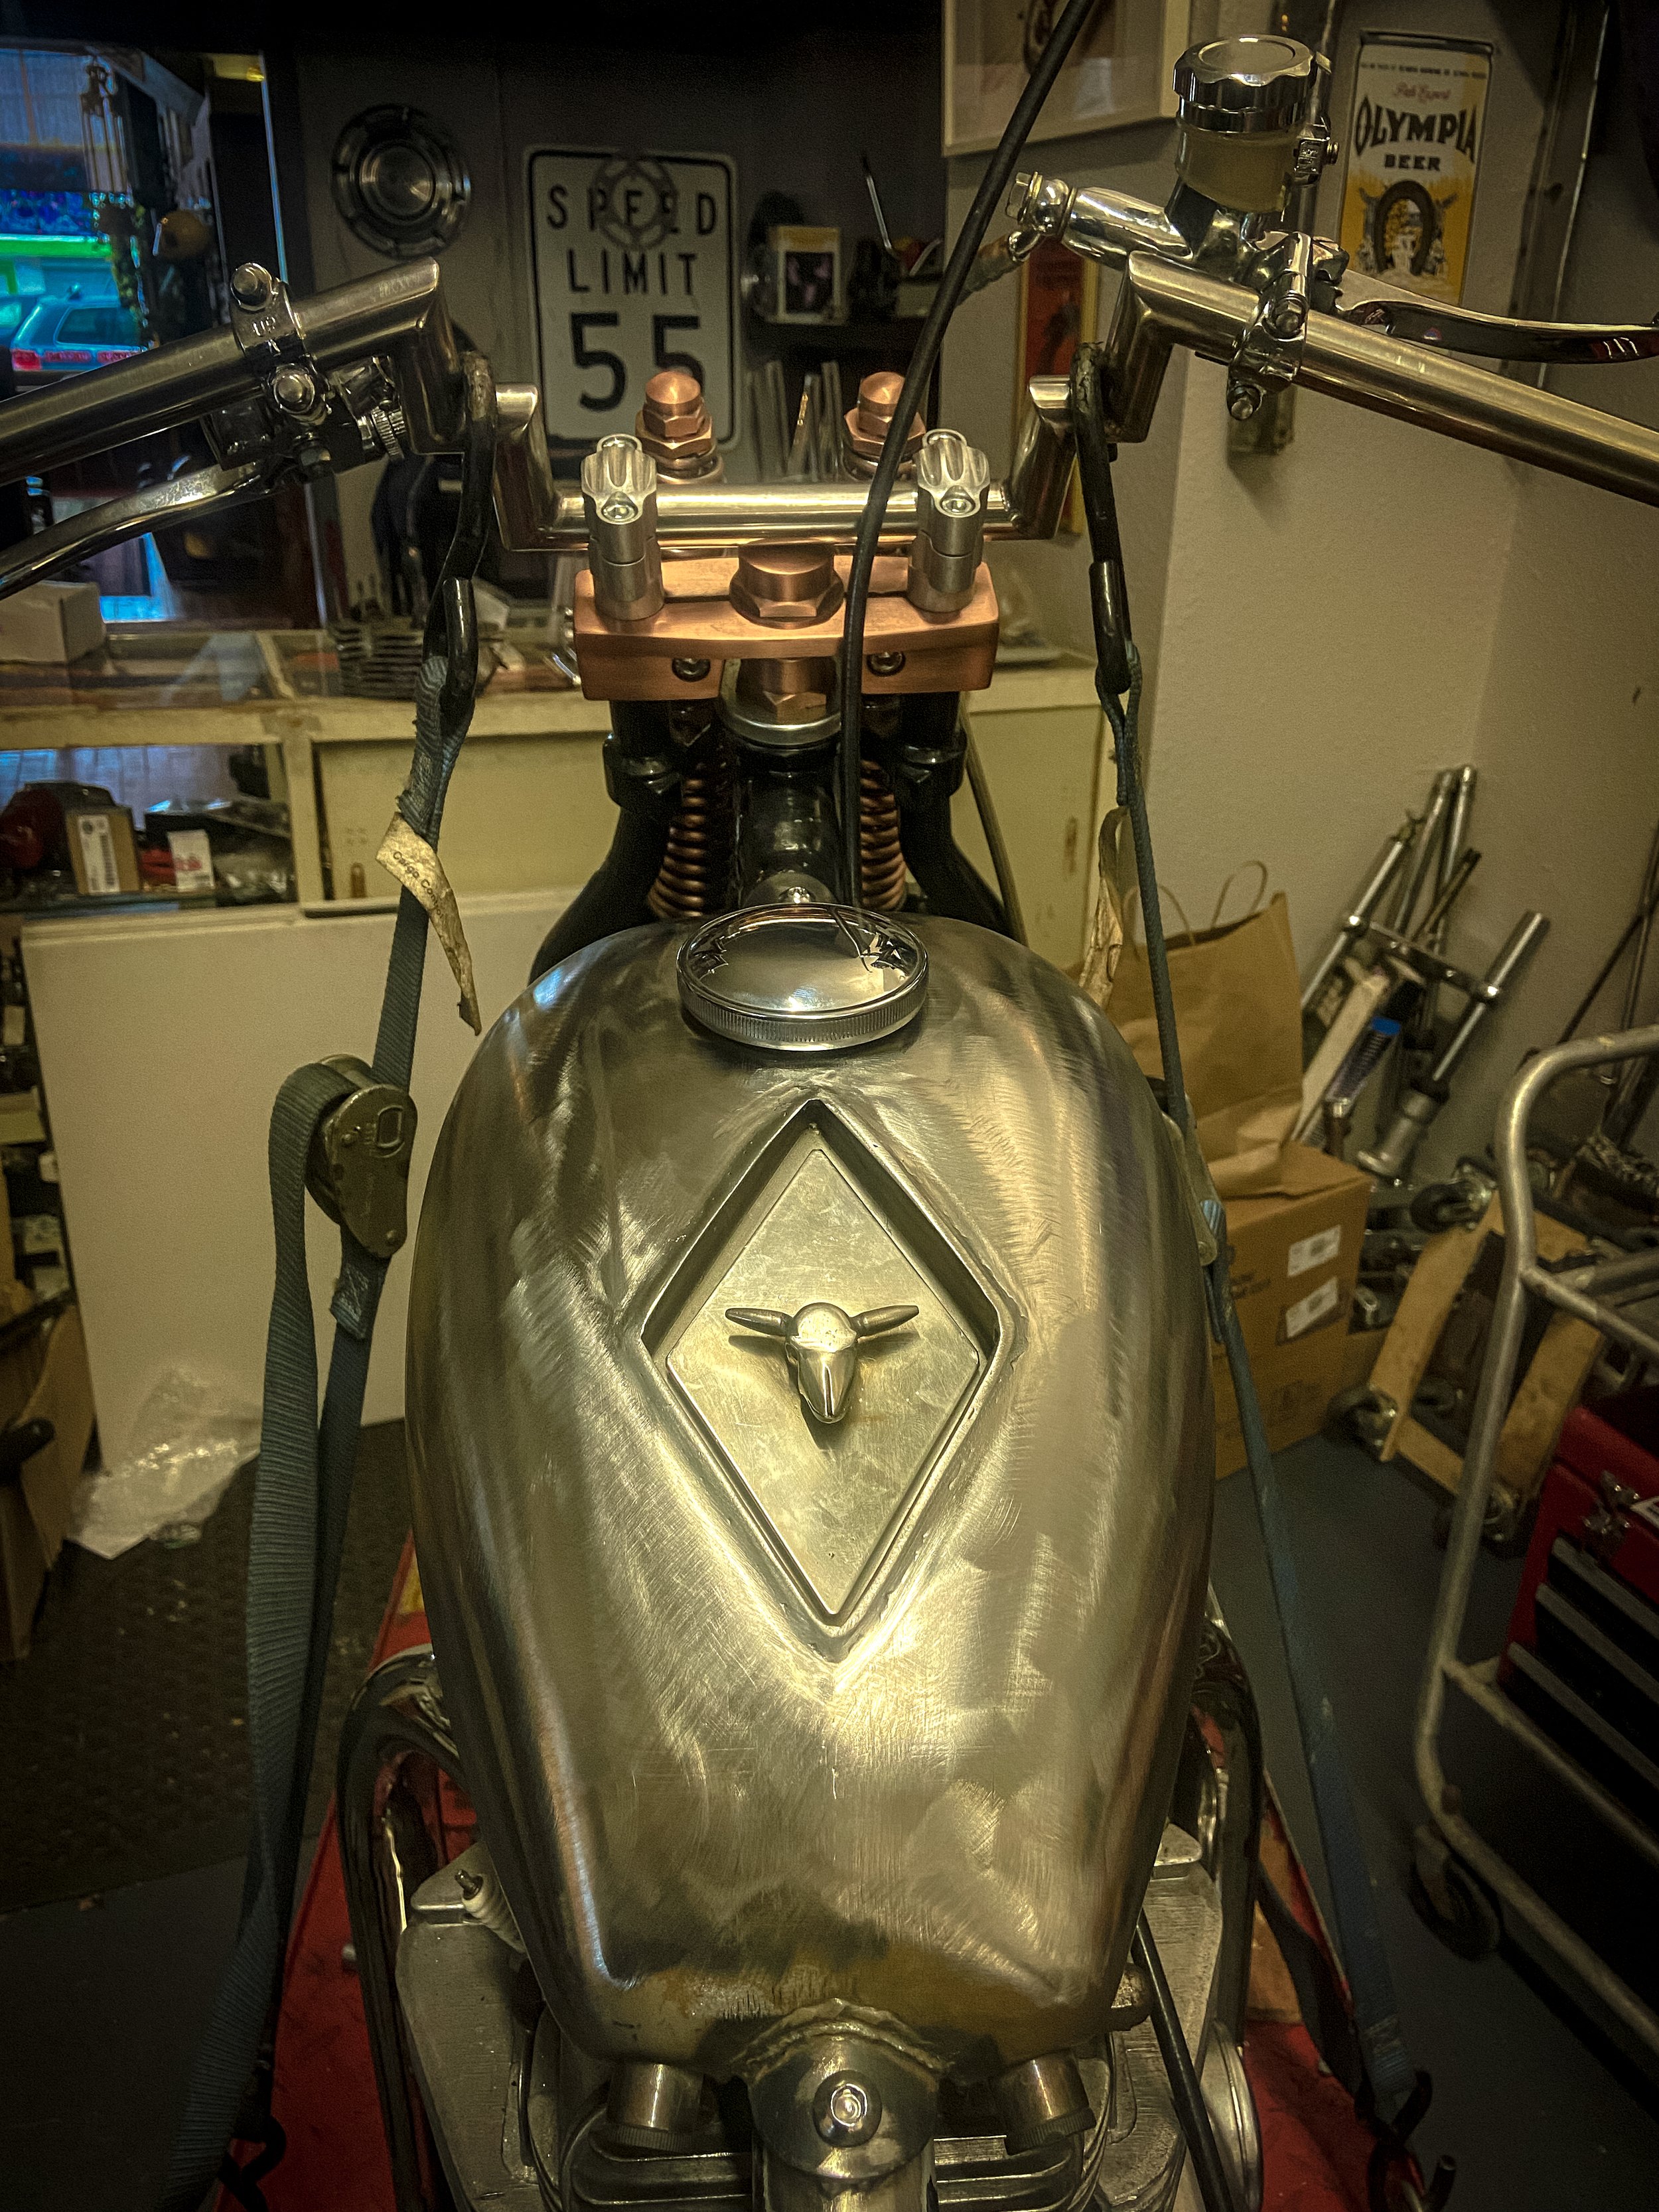
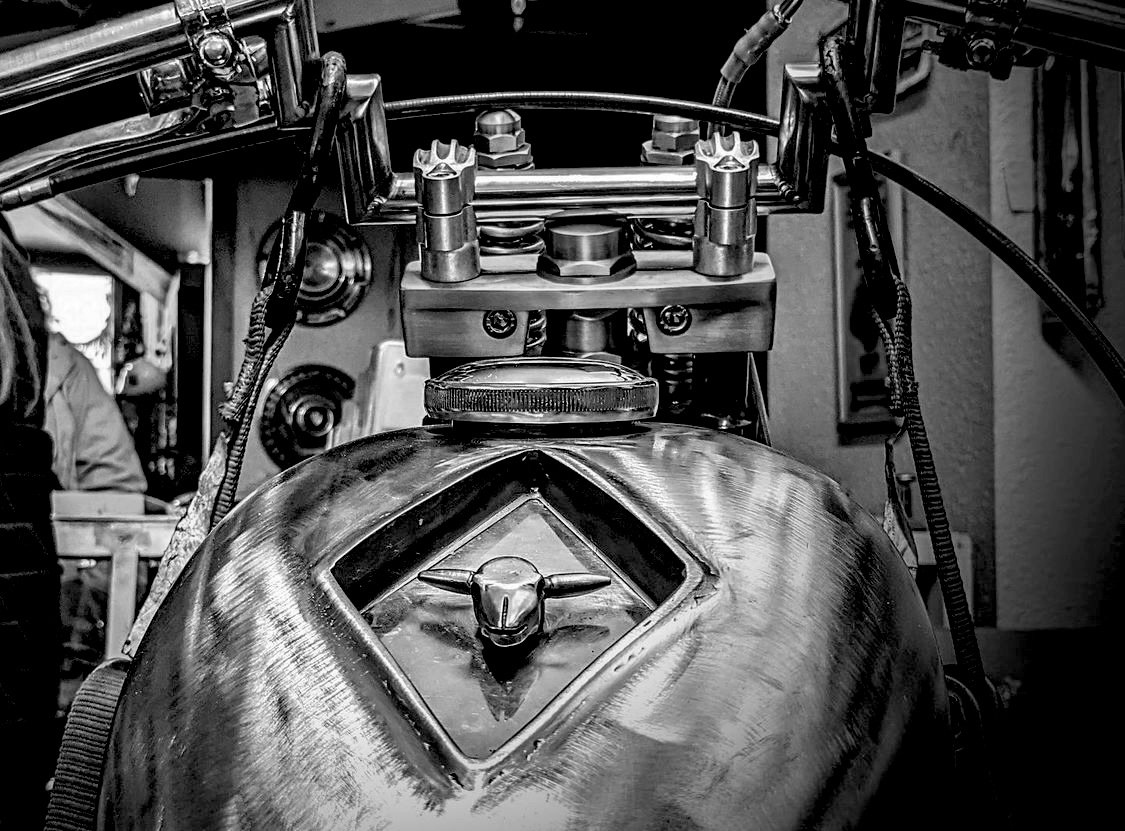
Another piece of the puzzle was a stainless steel piece of art that we had received from Curt Bennet out of Victoria, BC. You may know him from his work as 4th Floor Choppers. I had been sitting on the piece with the intent to use it as a sissybar topper. Originally the piece had a border that created a southwest/desert motif - which in many ways has guided the course of this bike build. But after the sissybar was changed to a shortened light bracket a different route had to be made.
That is when we discussed how to incorporate it with the gas tank. From placing it on top, to setting it in resin, a number of ideas were explored. In the end we went with a route that would inset the piece like you would if you were creating a resin inset - without doing the resin work. We were weary of the longevity of the resin insert as the tank would expand and contract in different heat/riding situations that we find up here in the Pacific Northwest. In the end the piece helps create a cohesive concept for the bike, and like many tings in the build have been a great marriage of the original concept with rolling with changes and respecting the craftsmanship of the builder and his view of the bike.
Next time we will write about the status of the bike as it sits today, what’s next, and more.. see you with part 5.